Tools
Parts
- Bleed Down Valve Body II #12943
- Bleed Down Valve Needle II #12942
- Bleed Down Valve High-Pressure Seal #11321
- Bleed Down Valve Seal Hoop #11323
- Bleed Down Valve Stem Bushing #11324
- Poppet Seat #11141
- Seal Back-up Screw #12945
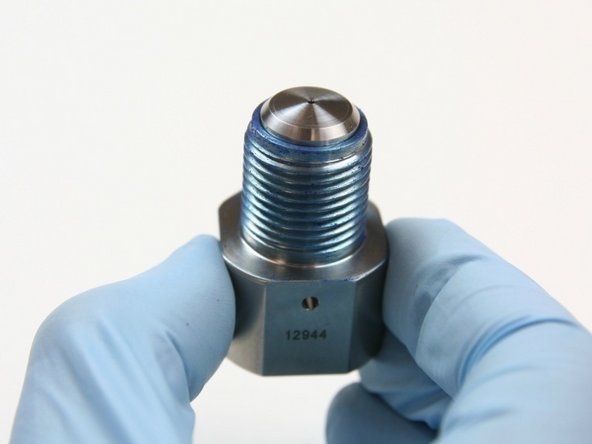
- Outlet Adapter #12944
- Flow Reducer #11743
- Bleed Down Valve Housing Body #11779
- Bleed Down Valve Hydraulic Piston #11778
- Back-up O-ring #11680-114
- Male to Female Hydraulic Adapter #11796
- O-ring SAE #12880-912
- O-ring Lube #13969
- High Vacuum Grease #11447
- Blue Goop #11111
- Isopropyl Alcohol
-
-
Always make sure all high-pressure water has been removed from the valve by following the machine manufacturers' safety instructions. Failure to do so can cause severe injury or death.
-
Turn OFF all hydraulic and water pressure to the bleed-down valve.
-
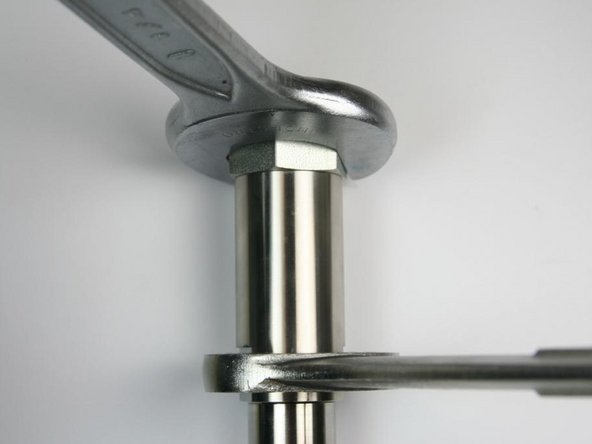
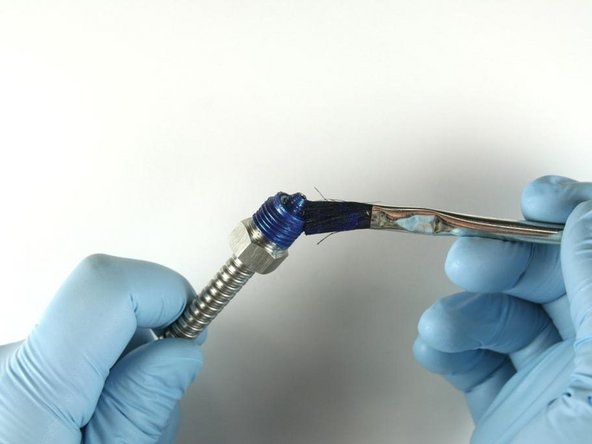
Loosen the hydraulic hose from the hydraulic fitting using 7/8" and 3/4" wrench.
-
-
-
Unthread the hydraulic hose from the hydraulic fitting.
-
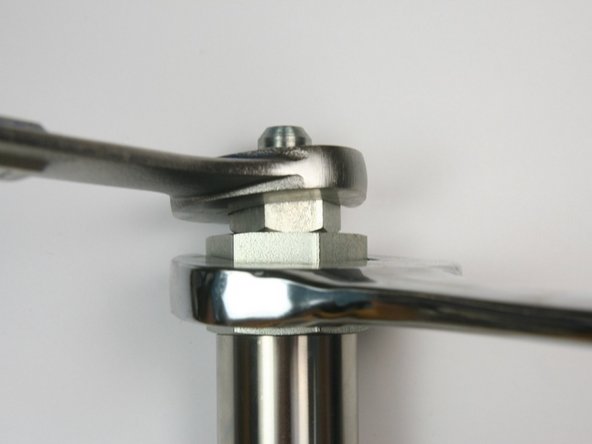
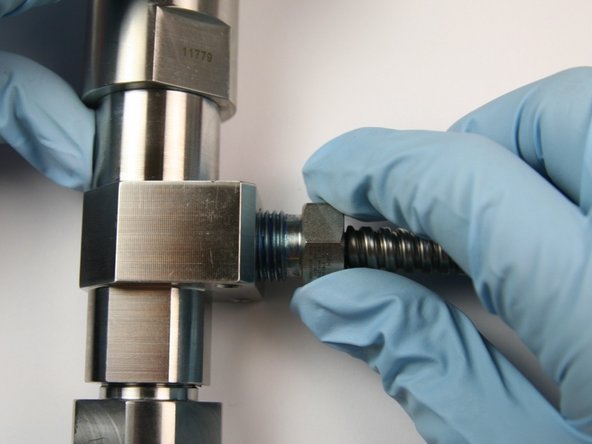
Loosen the 1/4" gland nut from the side inlet of the valve body.
-
Unthread the 1/4" gland nut from the side inlet of the valve body.
-
-
-
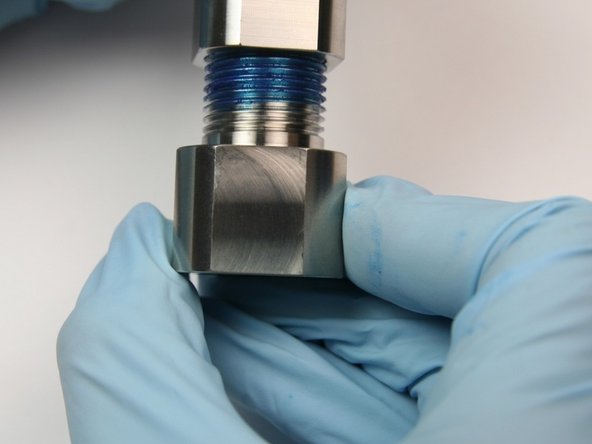
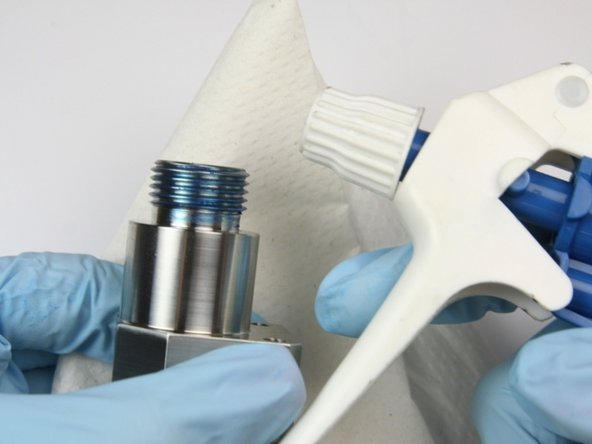
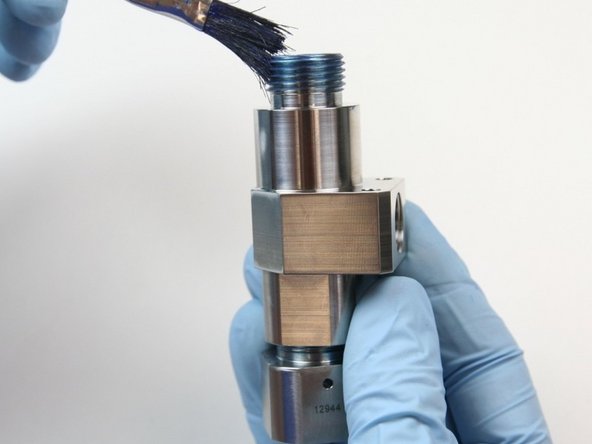
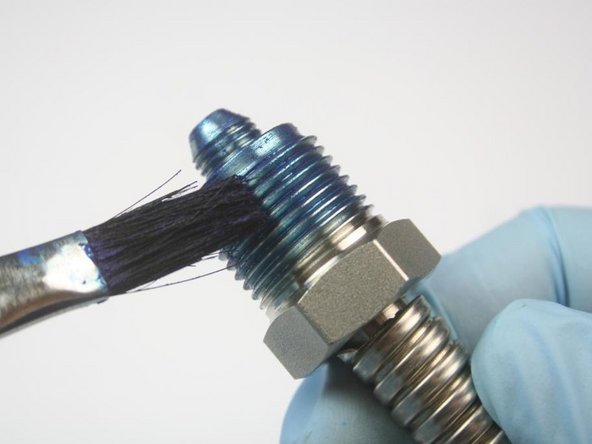
Clean the 3/8" gland nut of all Blue Goop with isopropyl alcohol.
-
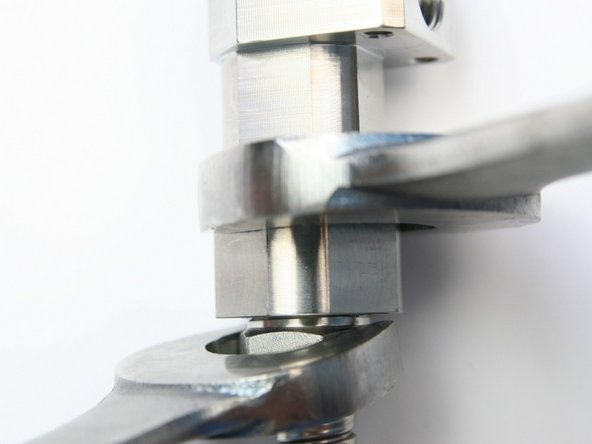
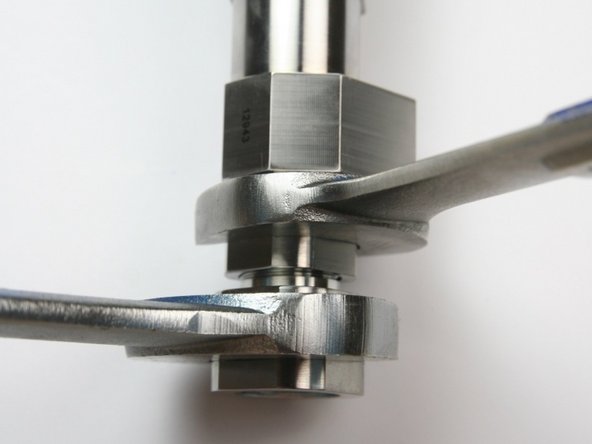
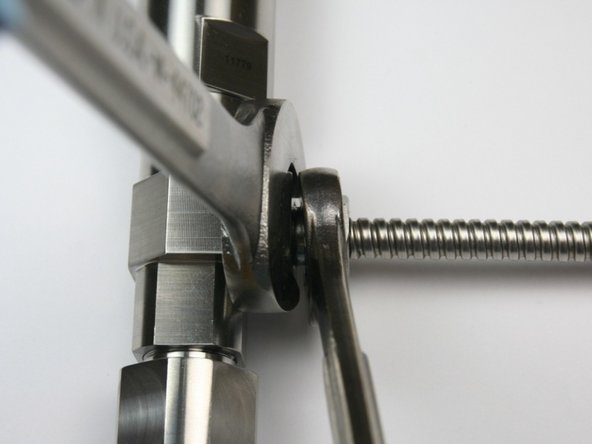
Loosen the 3/8" high-pressure gland from the outlet adapter using 13/16" and 1" wrench.
-
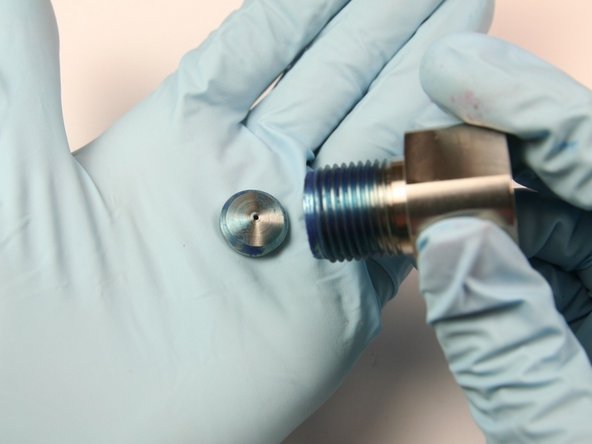
Unthread the 3/8" high-pressure gland from the outlet adapter.
-
-
-
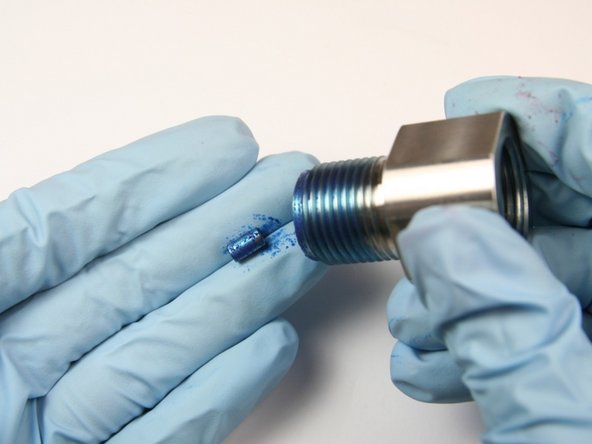
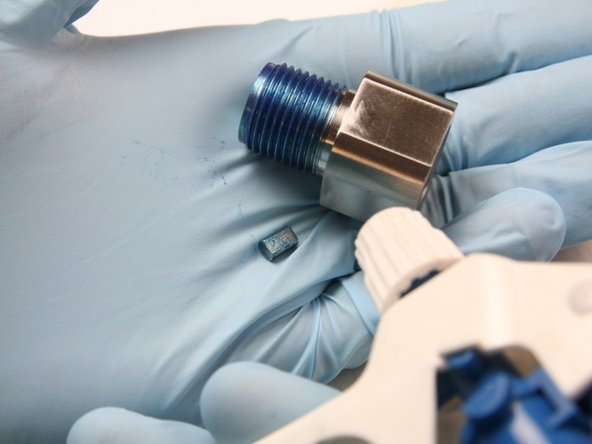
Clean the 3/8" gland nut of all Blue Goop with isopropyl alcohol.
-
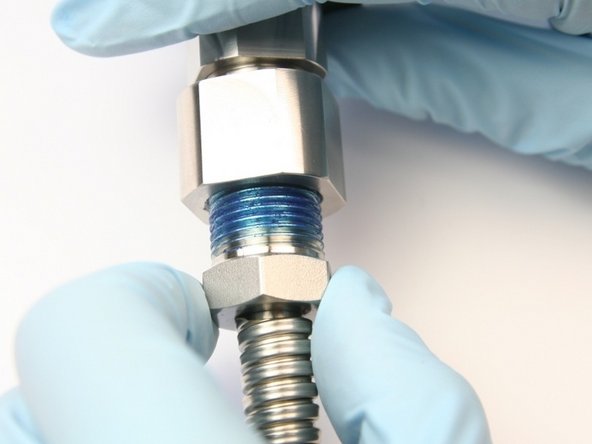
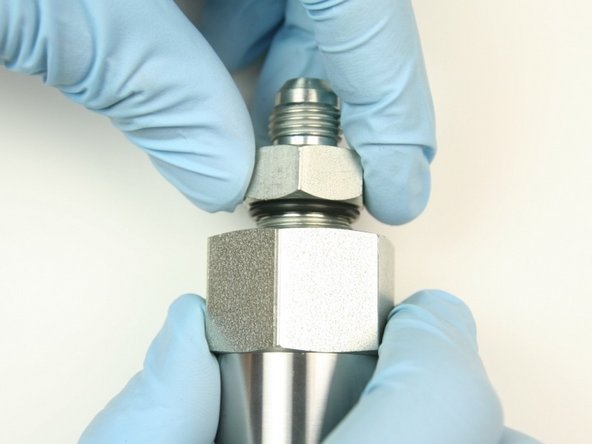
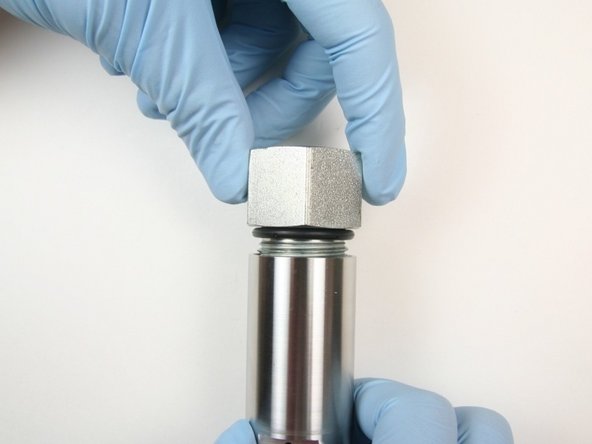
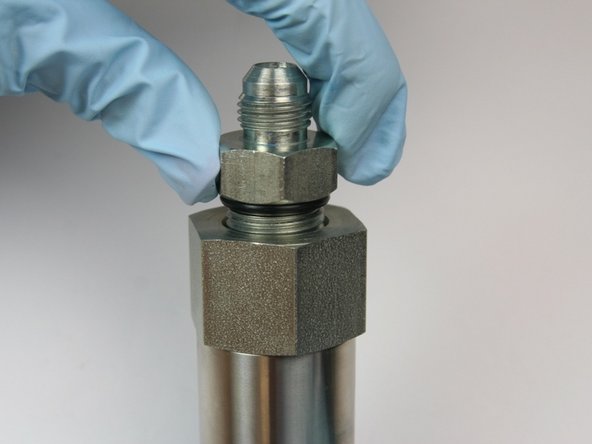
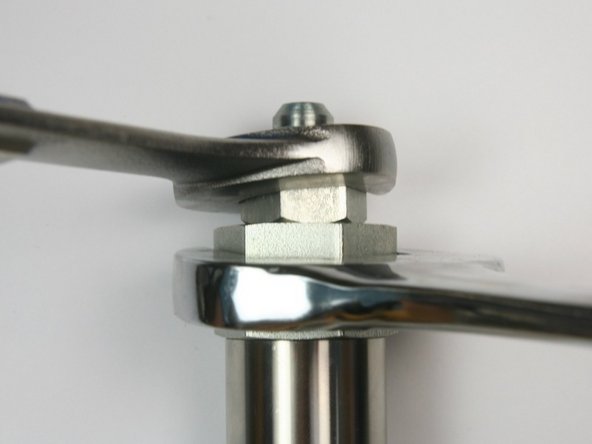
Loosen the hydraulic fitting from the adapter fitting using 1-1/4" and 7/8" wrench.
-
Unthread the hydraulic fitting from the adapter fitting.
-
-
-
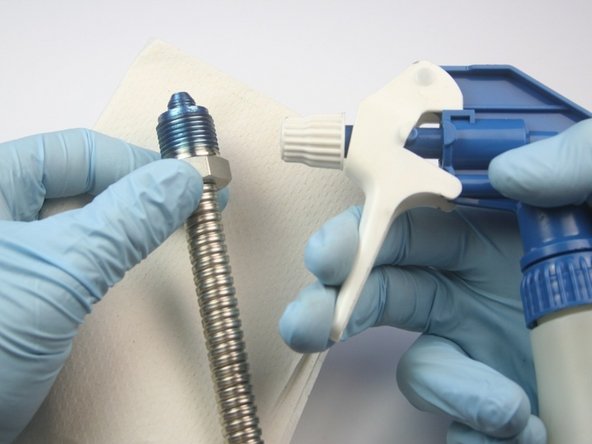
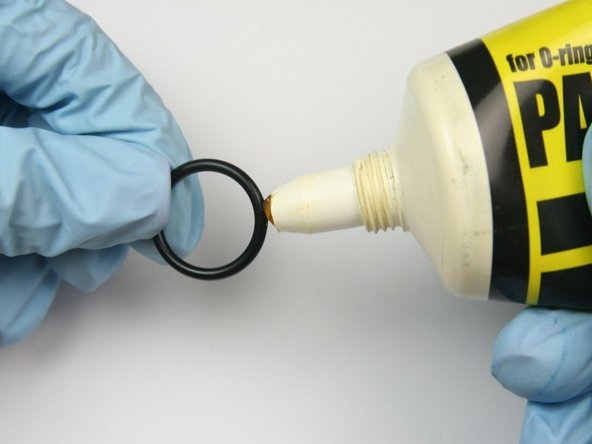
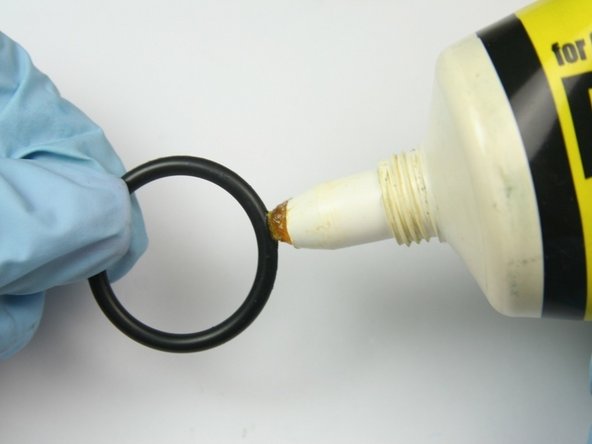
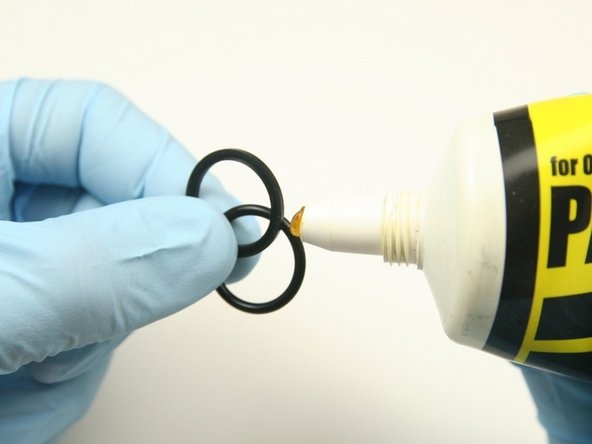
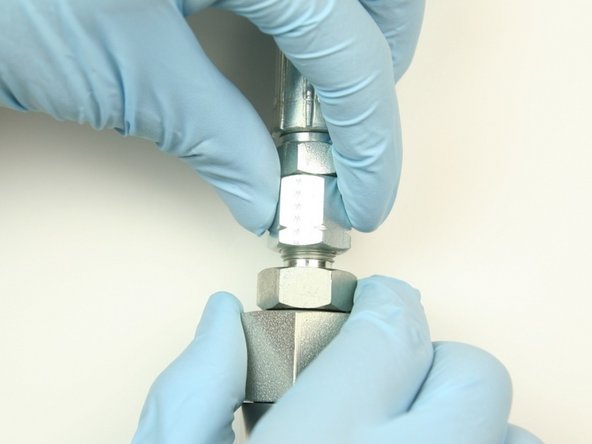
Apply an O-ring lubricant to the O-ring from the kit for the hydraulic fitting.
-
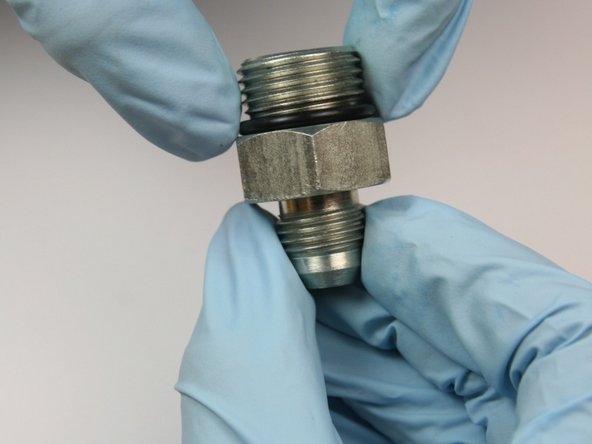
Replace the O-ring on the hydraulic fitting with the O-ring from the kit (smallest O-ring in kit).
-
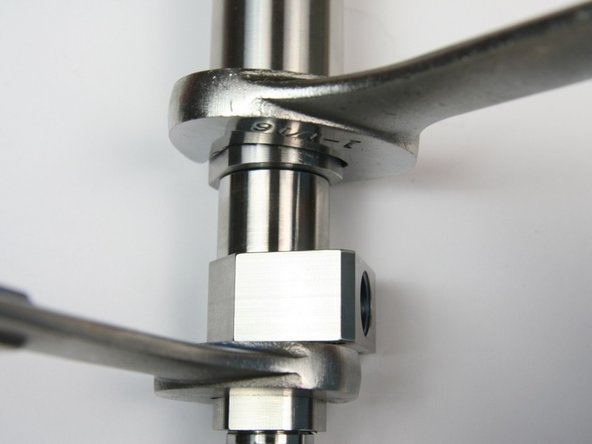
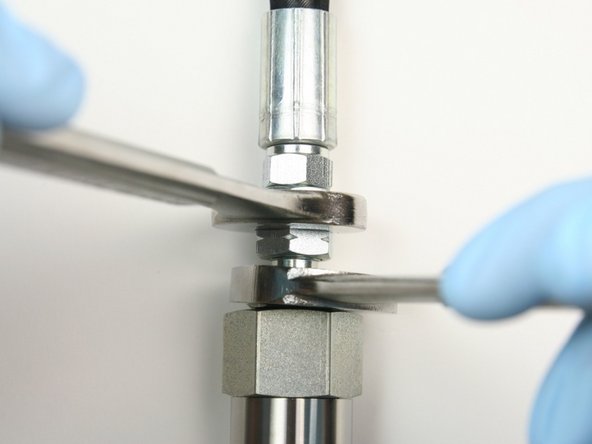
Loosen the adapter fitting from the actuator housing using 1-1/4" and 1-1/16" wrench.
-
-
-
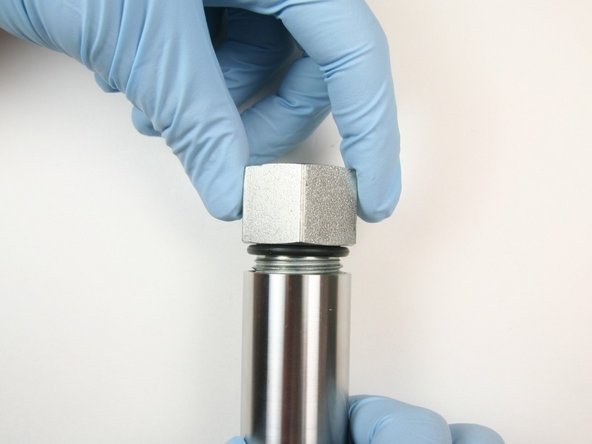
Unthread the adapter fitting from the actuator housing.
-
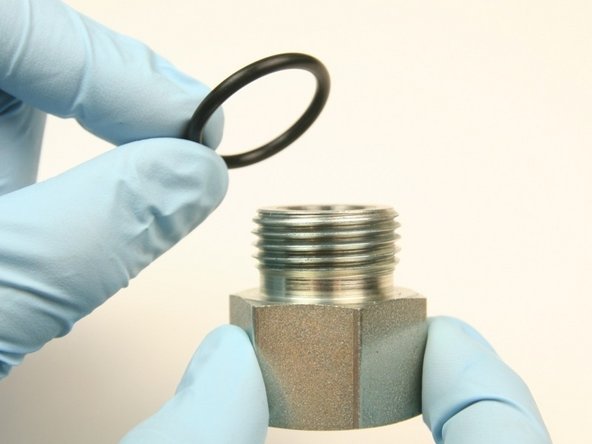
Apply an O-ring lubricant to the largest O-ring from the kit.
-
Replace the O-ring on the adapter fitting with the largest O-ring from the kit.
-
-
-
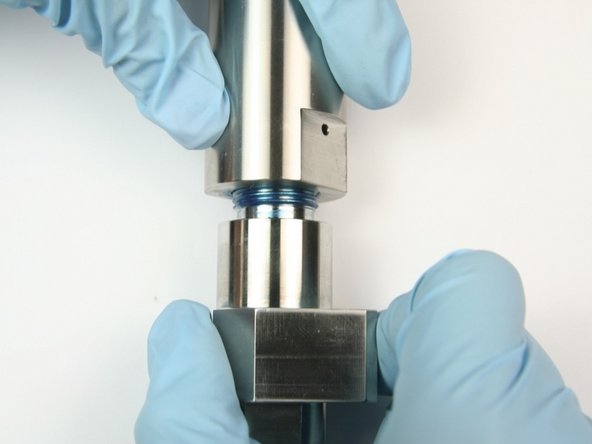
Loosen the actuator housing from the valve body using 1-1/16" and 7/8" wrench.
-
Unthread the actuator housing from the valve body.
-
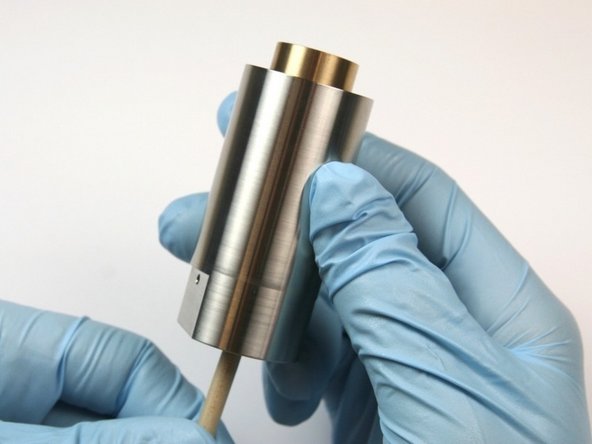
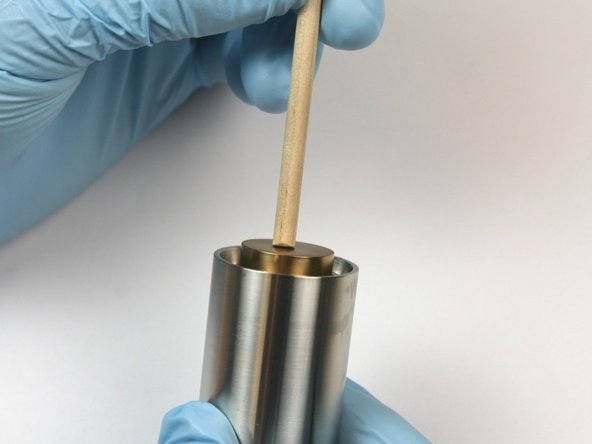
Push the piston out of the actuator housing through the oil port using the included dowel.
-
-
-
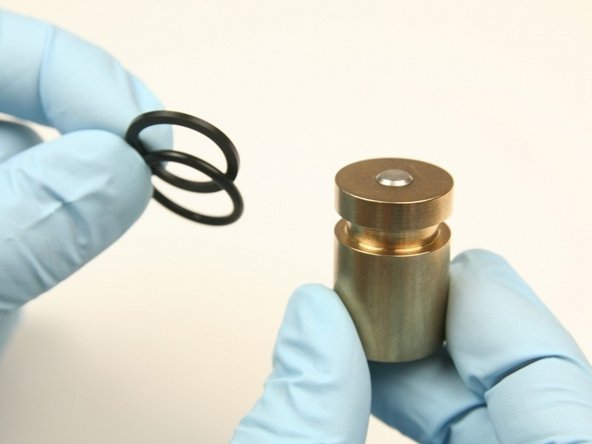
Discard the O-ring and back-up ring from the piston.
-
Inspect the piston, if damage is visible, replace.
-
Apply an O-ring lubricant to the O-ring and back-up ring.
-
-
-
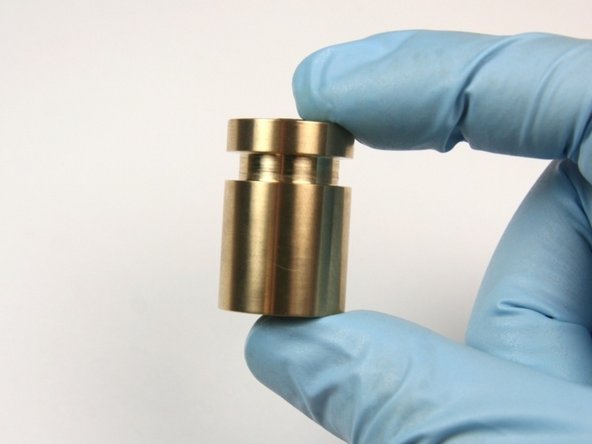
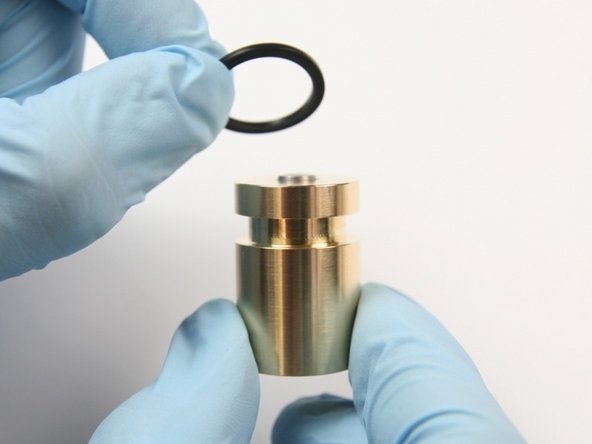
Slide the new back-up ring (flat) into the groove of the piston.
-
Make sure the concave side of the back-up ring is towards the O-ring.
-
Slide the new O-ring (rounded) into the groove of the piston.
-
Put the piston assembly into the actuator housing and push with the included dowel.
-
-
-
Loosen the outlet fitting from the bleed down valve body using 7/8" and 13/16" wrench.
-
Unthread the outlet fitting from the bleed down valve body.
-
Remove the high-pressure seat from the bleed down valve body and discard.
-
-
-
Remove theflow reducer from the outlet adapter.
-
Clean the outlet adapter and the flow reducer of all Blue Goop with isopropyl alcohol.
-
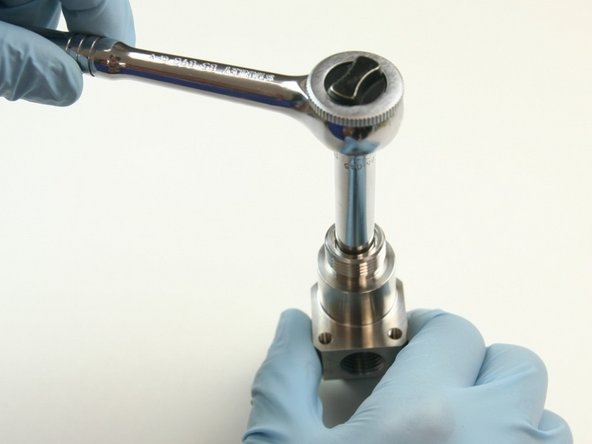
Loosen the back-up screw from the top of the bleed down valve body using a 5/16" socket wrench.
-
-
-
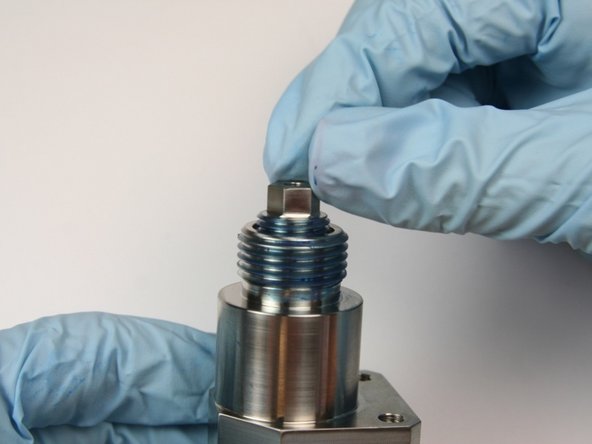
Unthread the seal back-up screw from the top of the bleed down valve body.
-
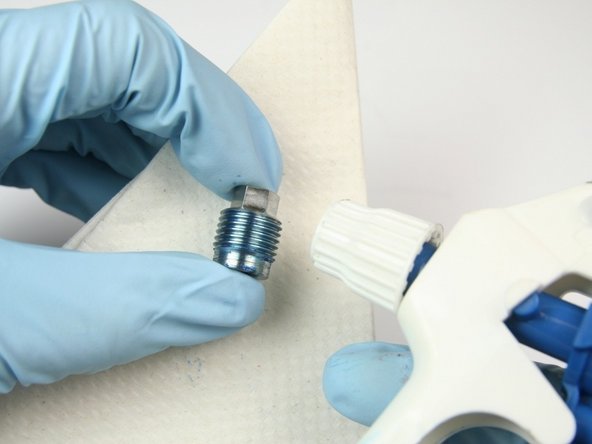
Clean the seal back-up screw with isopropyl alcohol.
-
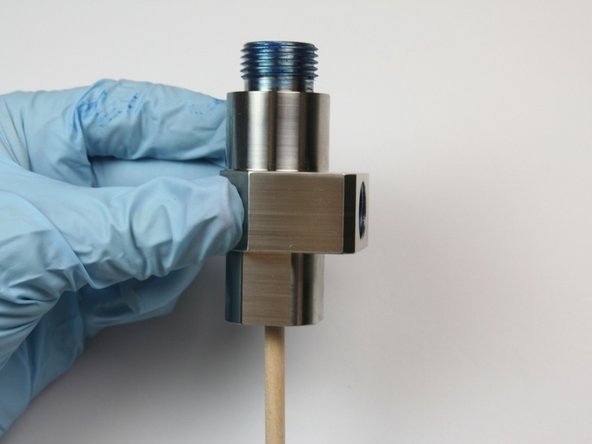
Push the components through the bleed down valve body with the included dowel.
-
-
-
Clean the bleed down valve body with isopropyl alcohol or a similar cleaning agent.
-
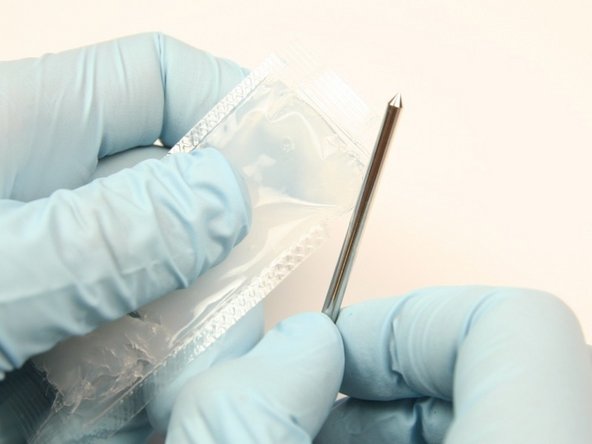
Apply ahigh vacuum grease to the needle.
-
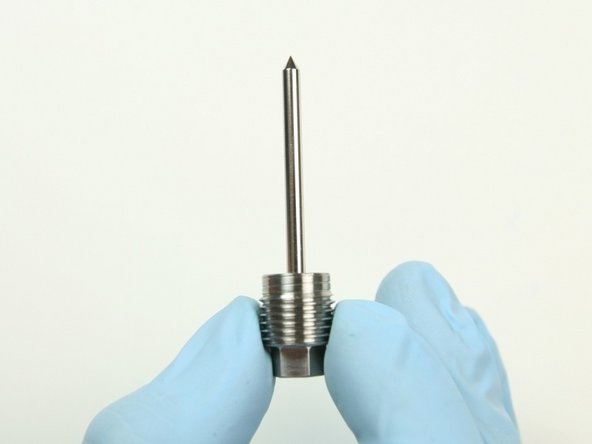
Slide the back-up screw on to the needle so the flat end of the needle is flush with the non threaded part of the back-up screw.
-
-
-
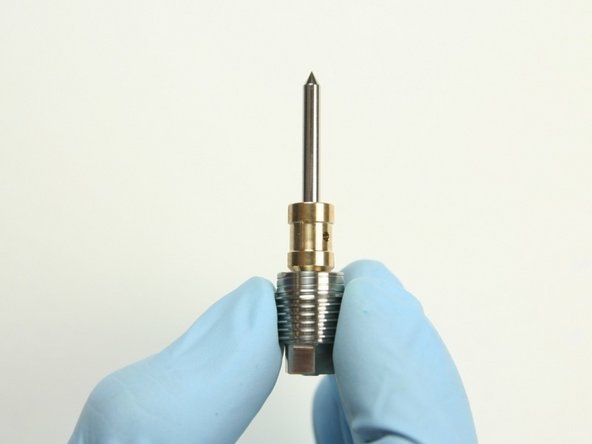
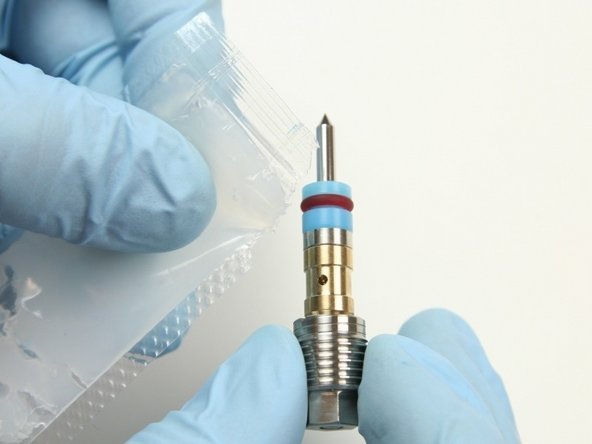
Slide the bushing onto the point of the needle with the chamfered end towards the back-up screw.
-
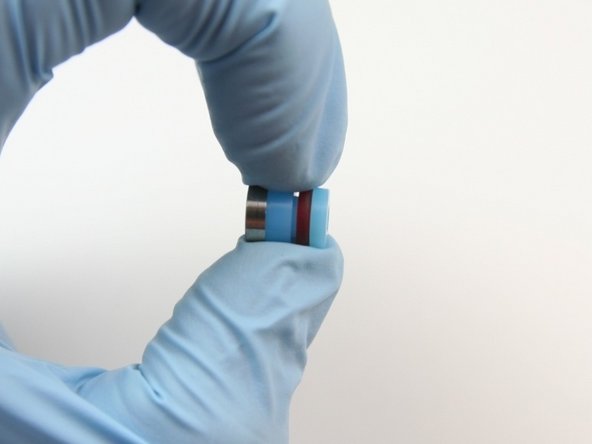
Put the hoop onto the high-pressure seal with the tapered end towards the high-pressure seal and opposite from the O-ring.
-
Put the high-pressure seal assembly onto the point of the needle with the hoop, first.
-
-
-
Apply a high vacuum grease to the exterior of the high-pressure seal, hoop, and bushing.
-
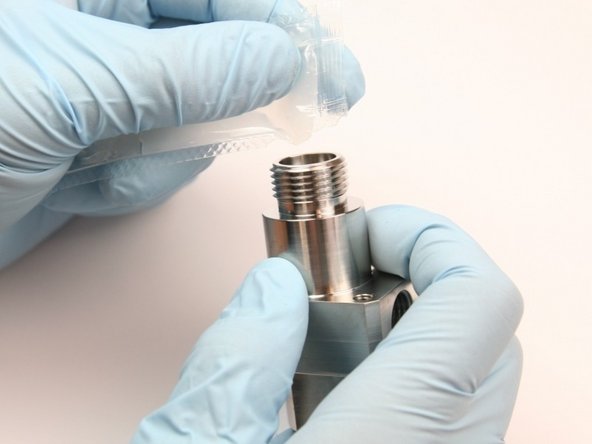
Apply a high vacuum grease to the internal threads of the bleed down valve body.
-
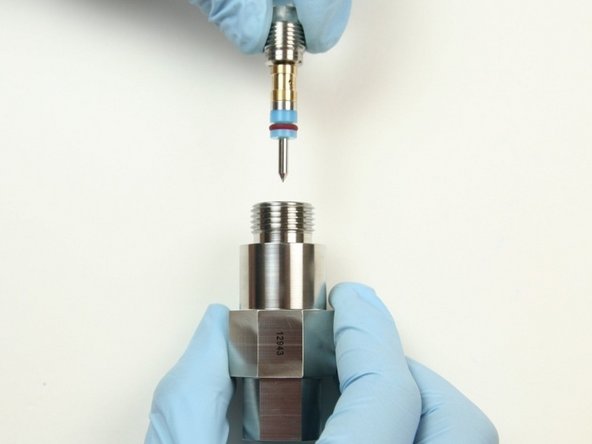
Put the high-pressure needle assembly into the top of the bleed down valve body with the point first.
-
-
-
Push the seal back-up screw inside of the valve body until it bottoms out.
-
Take the seal back-up screw out of the body and apply a layer of Blue Goop to the threads.
-
Thread in the back-up screw into the top of the bleed down valve body.
-
-
-
Tighten the back-up screw to the top of the bleed down valve body using a 5/16" socket wrench.
-
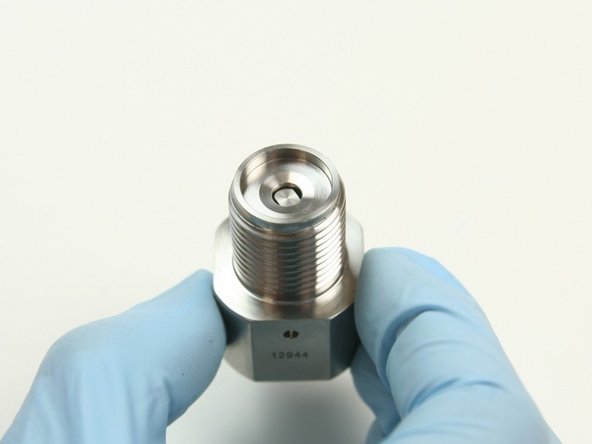
Put the flow reducer into the hole beneath the seat cavity in the outlet adapter.
-
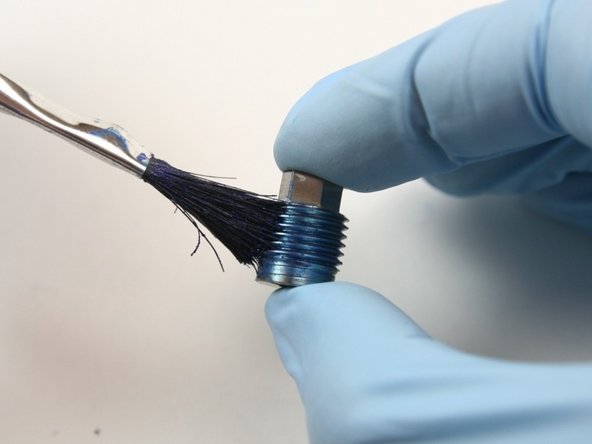
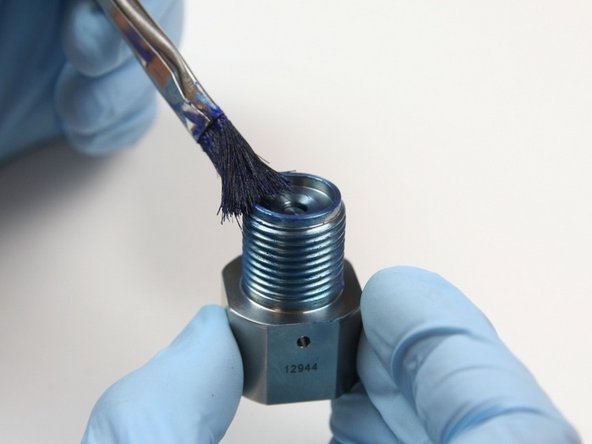
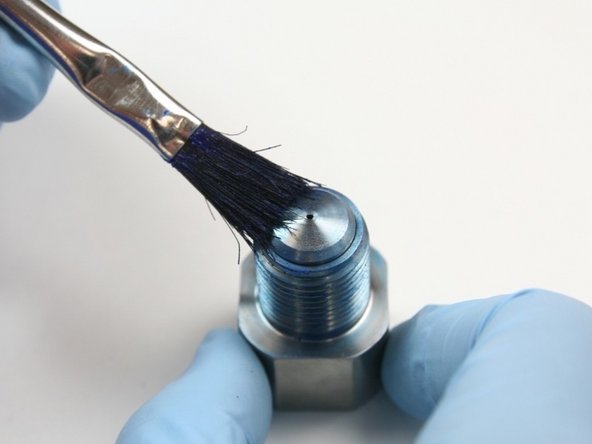
Apply a layer of Blue Goop to the external threads and the seat cavity of the outlet adapter.
-
-
-
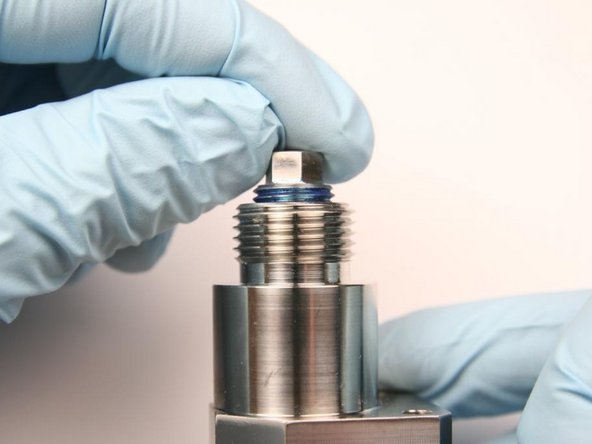
Place the poppet seat into the seat cavity of the outlet adapter.
-
Apply a layer of Blue Goop to the top of the poppet seat that is sitting in the outlet adapter.
-
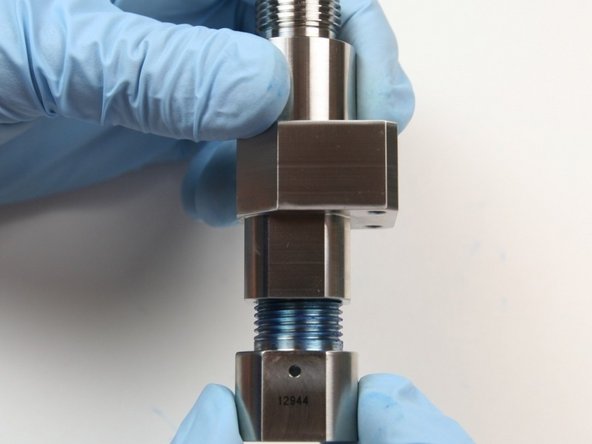
Thread the outlet adapter into the valve body.
-
-
-
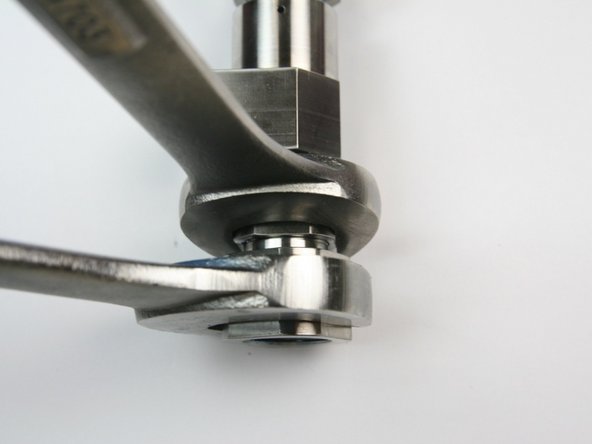
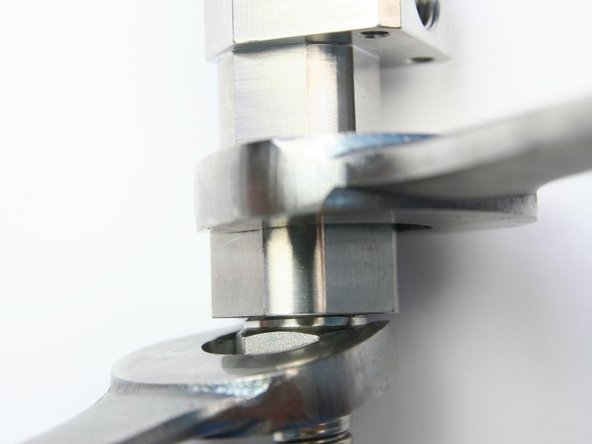
Using a 1" wrench on the outlet adapter and a 7/8" wrench on the valve body, tighten together securely.
-
Apply a layer of blue goop to the external threads of the valve body.
-
Thread the actuator housing onto the valve body.
-
-
-
Tighten the actuator housing to the valve body using a 1-1/16" and 7/8" wrench.
-
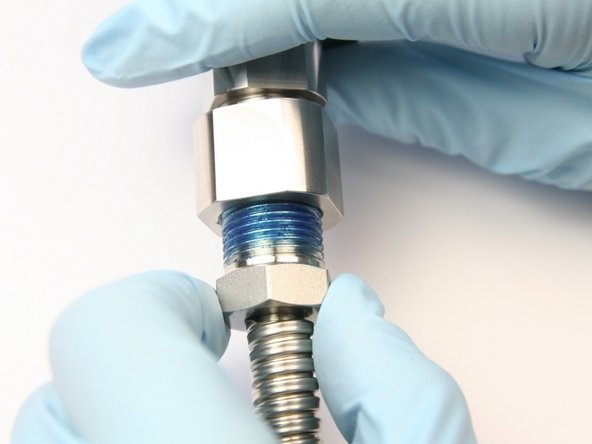
Apply Blue Goop to the 3/8" gland nut threads.
-
Thread the 3/8" gland nut with the high-pressure tubing into the bleed down valve adapter.
-
-
-
Tighten the gland nut into the bleed down valve adapter using 13/16" and 5/8" wrench.
-
Apply Blue Goop to the 1/4" gland nut threads.
-
Thread the 1/4" gland nut into the side of the bleed down valve body.
-
-
-
Tighten the gland nut to the side of the bleed down valve body using 3/4" and 5/8" wrench
-
Thread the adapter fitting into the actuator housing.
-
Tighten the adapter fitting into the actuator housing using 1-1/4" and 1-1/16" wrench.
-
-
-
Thread the hydraulic fitting into the hydraulic adapter.
-
Tighten the hydraulic fitting into the hydraulic adapter.
-
Thread the hydraulic hose onto the hydraulic fitting.
-
-
-
Tighten the hydraulic hose to the hydraulic fitting using 7/8" and 3/4" wrench.
-
Turn the pump ON and continue the cutting process.
-