Introduction
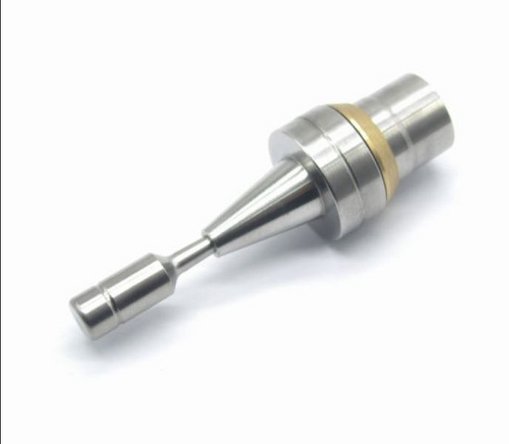
This is a how-to guide for replacement of 1-18882 Hyplex Prime PCV Assembly from Accustream.
Tools
No tools specified.
Parts
-
-
Refer to original equipment manufacturer's safety and maintenance instructions. Failure to do so could result in injury or death.
-
Always remove all stored energy and lock out equipment before beginning any work.
-
-
-
Disconnect air line from actuator
-
Disconnect PCV drain line
-
-
-
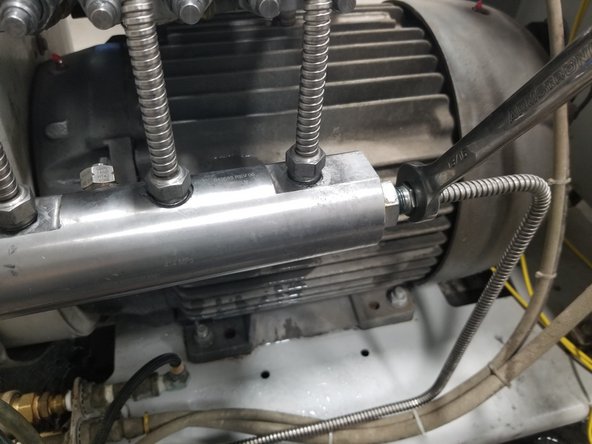
Remove high-pressure tube from manifold using a 13/16" open end wrench
-
Disconnect the three high-pressure tubes from the manifold using 13/16" open end wrench while supporting the manifold
-
-
-
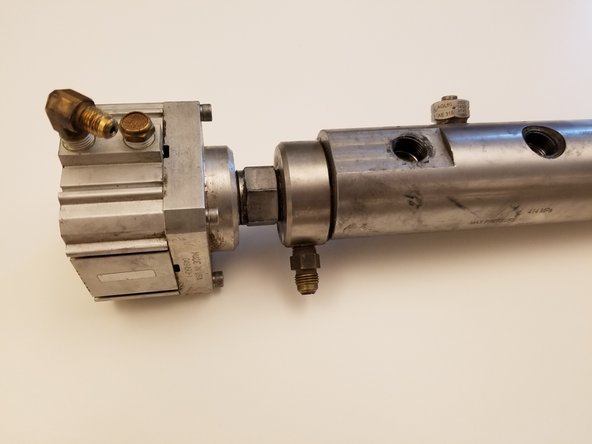
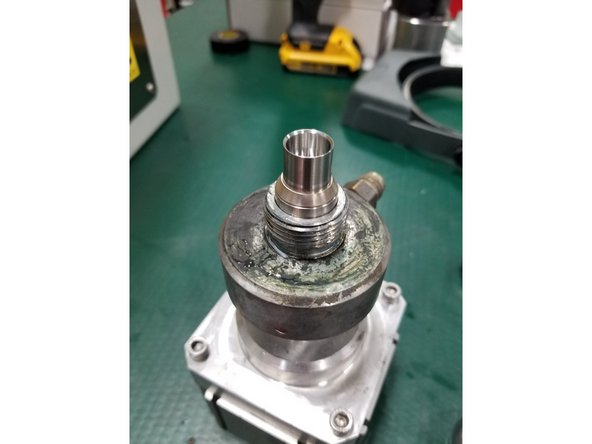
With manifold removed from pump, place manifold in a heavy bench vise
-
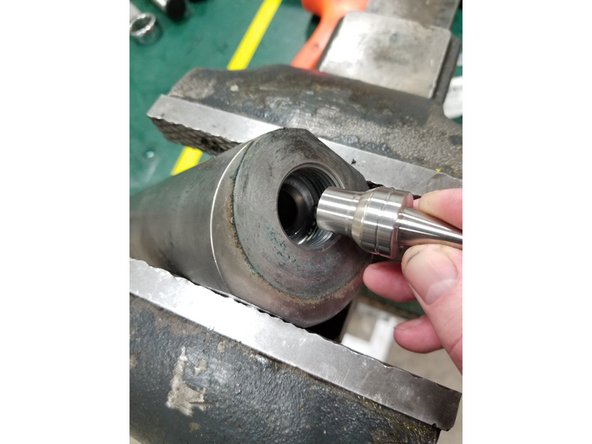
Remove the PCV body using a 1-1/4" (32 mm) wrench
-
-
-
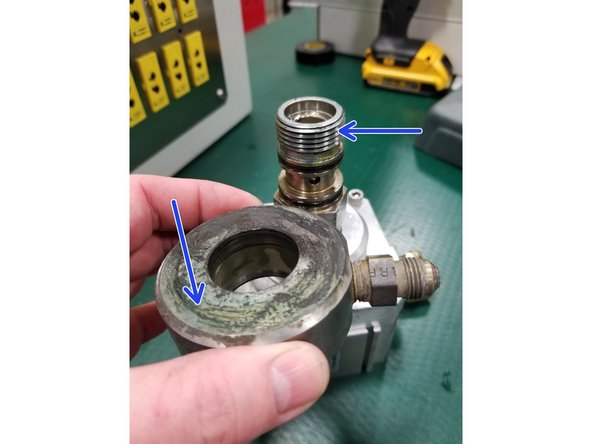
Apply blue lubricant to threads and both faces of the PCV adapter
-
Install new PCV Ring onto new PCV Seat, and insert PCV Poppet into seat. Insert PCV assembly into PCV body
-
Thread manifold onto PCV Adapter. Torque to 190 ft-lb (258 N-m)
-