-
-
Inspect the kit parts to verify the contents are complete (see the relevant parts list above). If parts are missing or damaged, contact Hypertherm Waterjet for replacements.
-
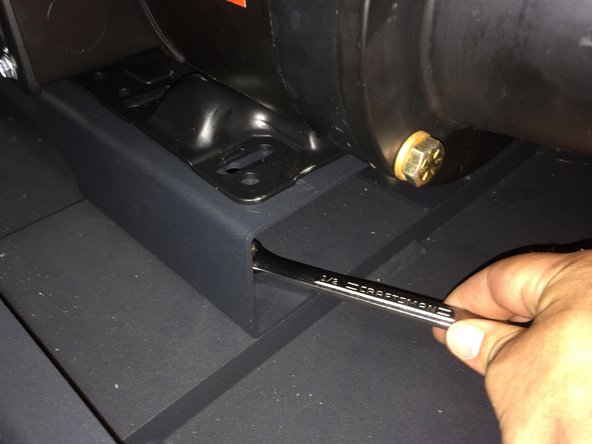
Loosen the 5/16-18 × 3/4 inch hex bolts (4) that fasten the boost pump motor to the waterjet pump frame.
-
Remove the hex bolts (4) and lock washers (4) to free the motor from the frame.
-
-
-
Carefully lift the boost pump motor straight up (this may be easier with a second person).
-
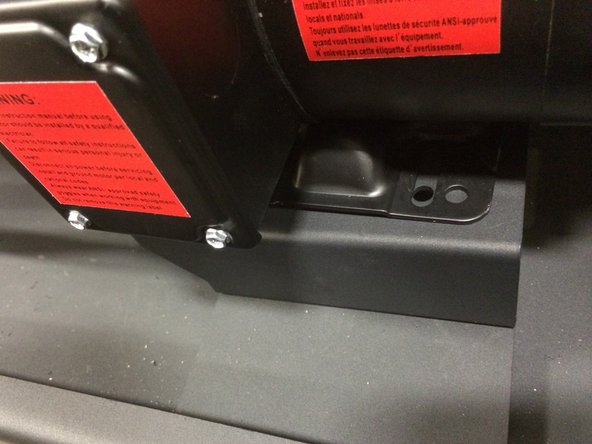
Place the boost motor mounting bracket on the waterjet pump frame under the boost motor. The bracket should have the angled edge facing the left (rear) end of the motor.
-
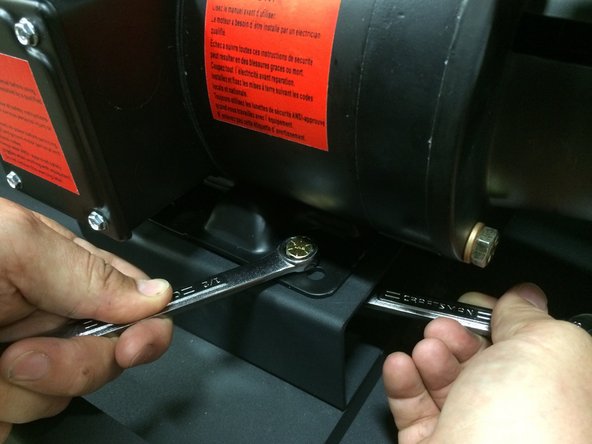
Insert the 5/16-18 × 3/4 inch hex bolts (4) and 5/16 lock washers (4) through the bracket into the waterjet pump frame.
-
-
-
Hand tighten the hex bolts (4) into the waterjet pump frame.
-
Tighten the hex bolts (4) into the waterjet pump frame using a 1/2" standard open-end, box-end, or combination-end wrench.
-
Align the slots (4) on the boost motor with the holes on the mounting bracket.
-
-
-
Slide 5/16 SAE flat washers (4) onto the 5/16-18 × 1 inch hex bolts (4). Insert the bolts and washers through the motor plate and mounting plate. Hand thread the 5/16-18 nylon insert nuts (4) with 5/16 SAE flat washers (4) onto the bolts.
-
Use two 1/2" standard open-end, box-end, or combination-end wrenches to tighten the nuts (4) on the hex bolts (4).
-
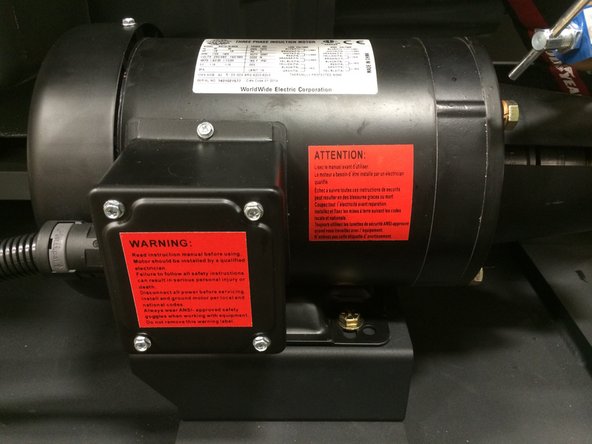
Continue normal pump operation.
-