-
-
Remove the air fitting from the top of the actuator
-
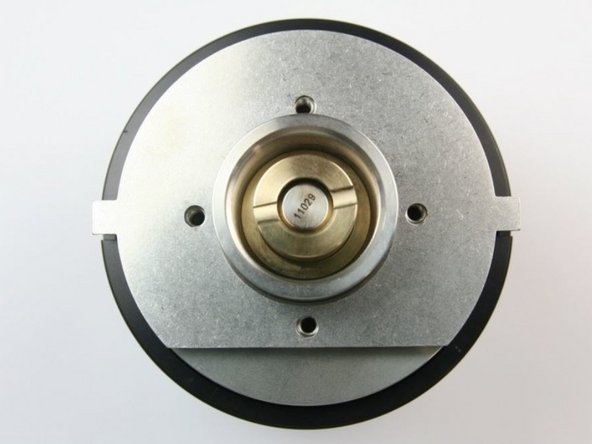
Using a 5/64" Allen Wrench, remove the retainer cap from the bottom of the actuator.
-
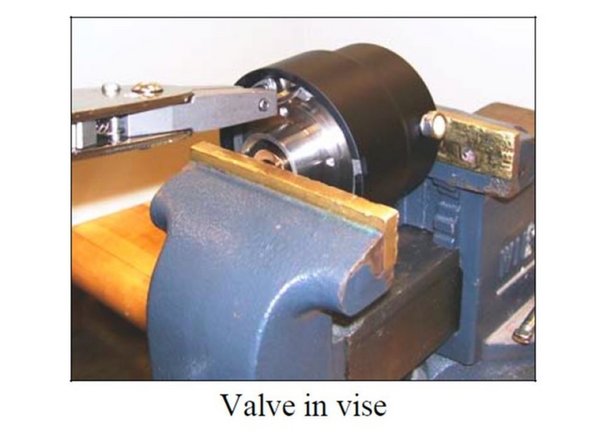
Place the actuator in a bench vise. Tighten the vise enough to slightly compress the actuator springs.
-
Caution: the actuator assembly contains high-force springs under compression.
-
Using the ratcheting snap ring pliers, compress and remove the snap ring that secures the actuator cap into the housing.
-
Carefully take the actuator out of the vise. All of the internal actuator components can now be removed.
-
-
-
After cleaning and inspecting, replace at least the exhaust vent, two O-rings on the actuator shaft, poly seal, and all six springs.
-
Inspect and lubricate all O-rings.
-
Install new O-rings on both ends of the shaft. Note the O-ring sizes and locations.
-
Install the Poly Seal on the actuator piston with the "thick" part of the seal facing "down" (pointing away from the springs).
-
Install the O-ring on the bearing cap.
-
-
-
After all the internal components have been re-installed, place the retainer cap with the tabs in the slots on the housing.
-
Twist the actuator cap until the four screw holes line up with the holes in the retainer.
-
Place the actuator in a bench vise. Tighten the vise enough to slightly compress the actuator springs.
-
Caution: the actuator assembly contains high-force springs under compression.
-
Using the ratcheting snap ring pliers, compress and replace the snap ring that secures the actuator cap into the housing.
-
Remove the actuator from the vise. Use a 5/64 Allen wrench to tighten the four screws that hold the retainer to the actuator cap.
-
Cancel: I did not complete this guide.
2 other people completed this guide.


