
Tools
Parts
- High-Pressure Seal Kit #11451
- High-Pressure Seal with O-ring #11024 (included in kit)
- Hoop #11018 (included in kit)
- High-Vacuum Grease #11447 (included in kit)
- HP Cylinder #14766
- Spacer Tube #11521
- Low-Pressure Poppet Basket #11520
- AS Low-Pressure Poppet #11526
- Check Valve #14767
- -031 O-ring #11679-031
- -035 O-ring #11679-035
- AS HP Endcap #11529
- 1"-14 Grade 8 Nut #11672
- Blue Goop #11111
- O-ring Lube #13969
-
-
Always make sure all high-pressure water has been removed from pump by following machine manufacturers' safety instructions. Failure to do so can cause severe injury or death.
-
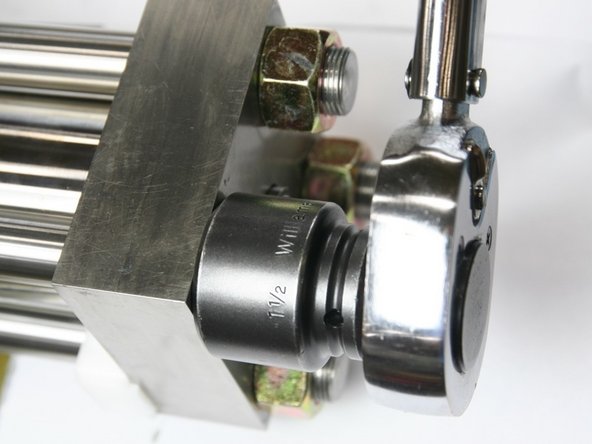
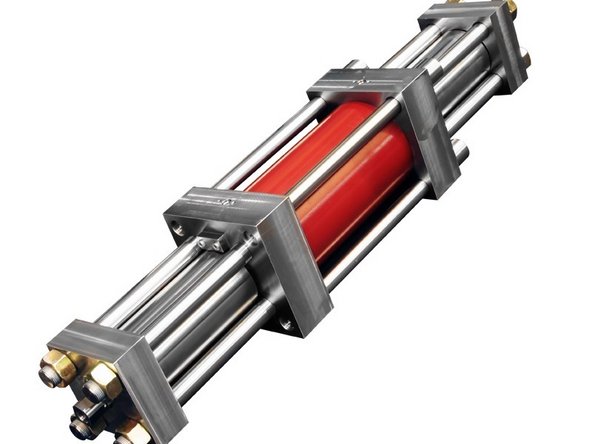
Remove HP cylinders and check valves from intensifier. Clean cylinders and check valves thoroughly, following standard procedures.
-
Scotch-Brite, or similar abrasive pad, can be used on sealing faces of cylinder and check valve to clean marking and/or galling.
-
-
-
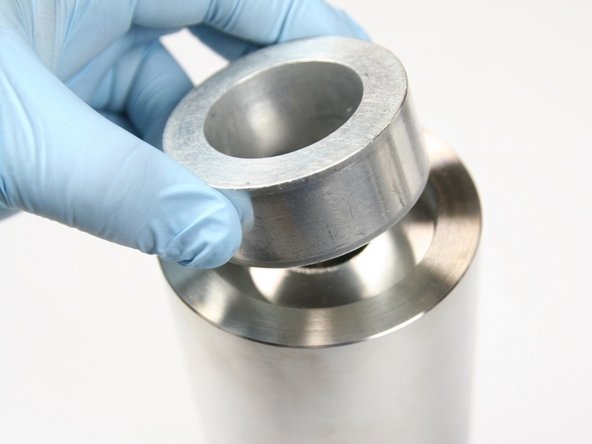
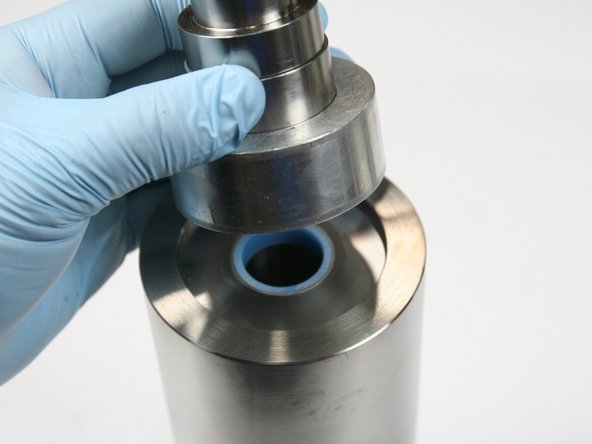
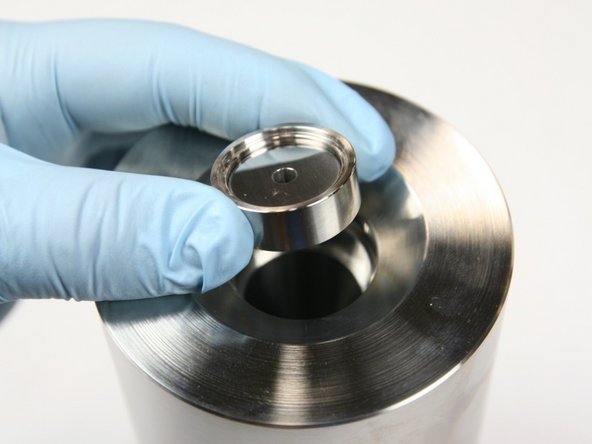
Place HP cylinder on seal installation spacer tool, taper side down
-
Apply light coat of high vacuum grease to both shoulders of spacer tube
-
Insert spacer tube into cylinder with LP poppet end down
-
-
-
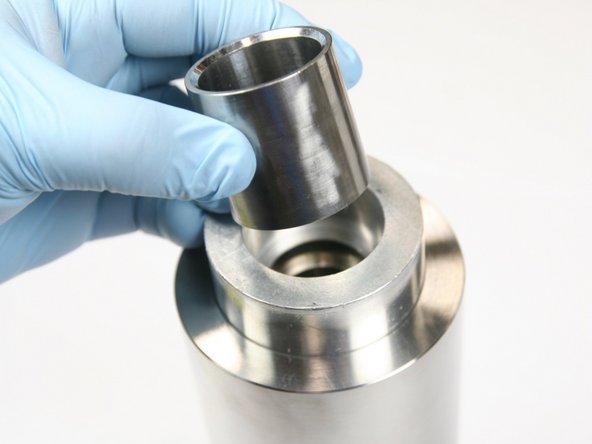
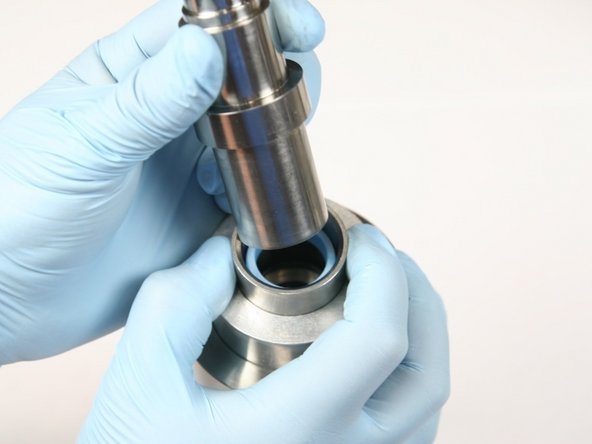
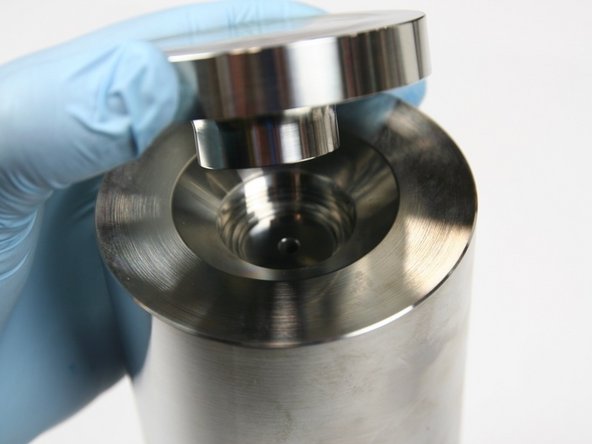
Place locator tool on cylinder
-
Place sleeve in locator tool with taper end up
-
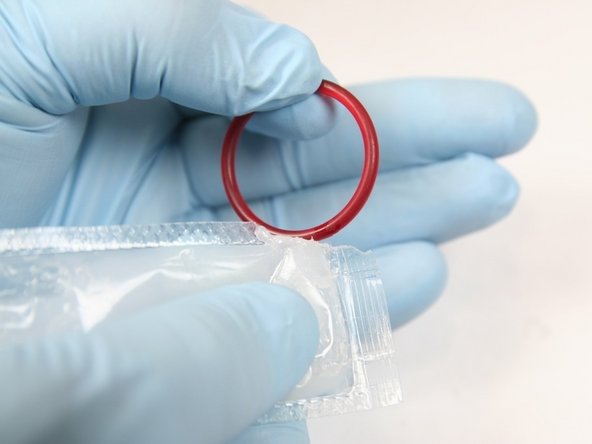
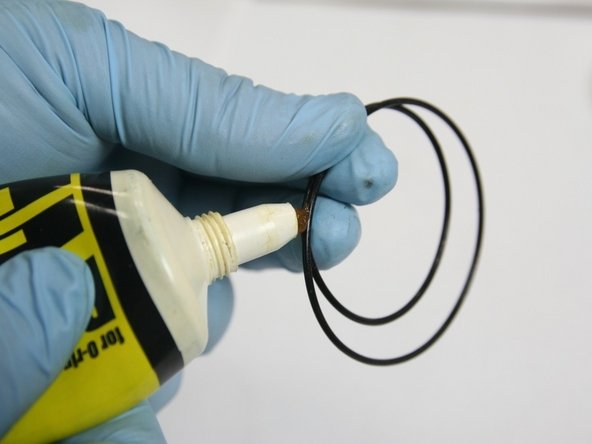
Apply light coat of high vacuum grease to red o-ring
-
-
-
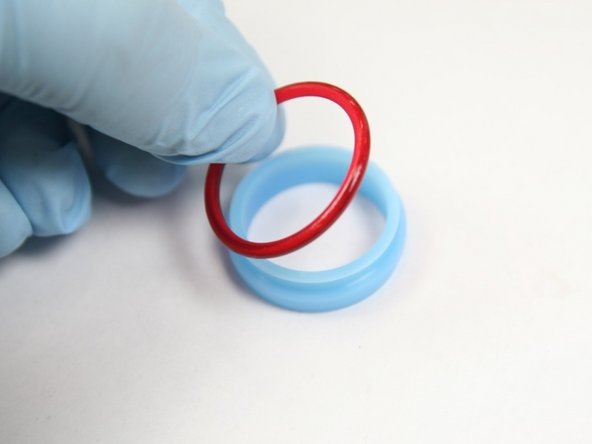
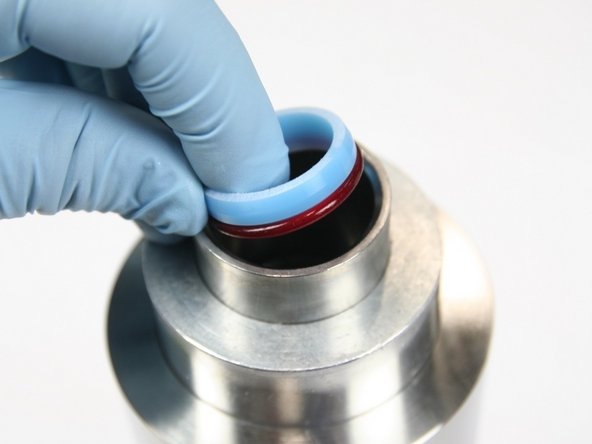
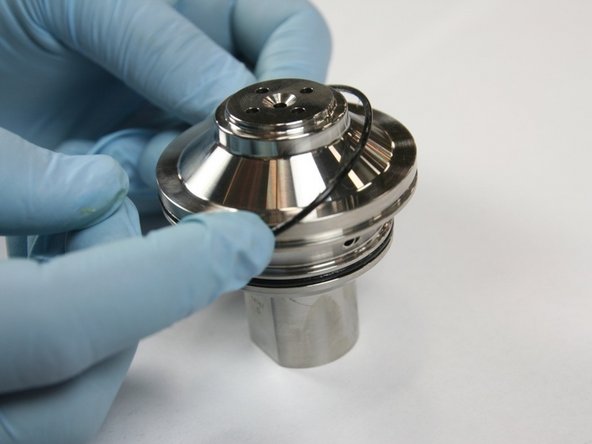
Roll red o-ring into groove on HP seal
-
Insert assembled HP seal into sleeve with red o-ring down towards cylinder
-
Press HP seal into cylinder using non-stepped end of push tool
-
Hold down sleeve while inserting HP seal to ensure seal doesn't catch on edge of HP cylinder
-
-
-
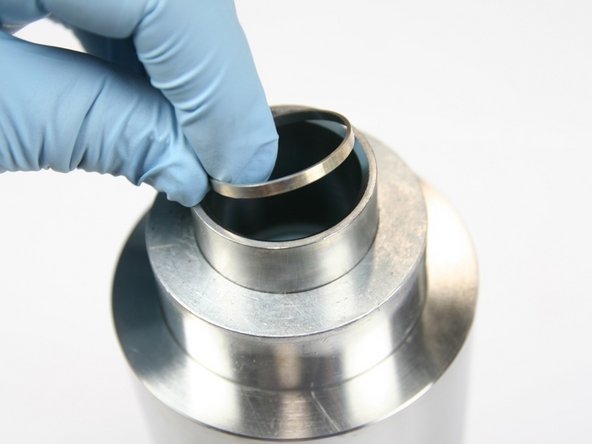
Place hoop in sleeve with sharp edge of hoop down towards HP cylinder
-
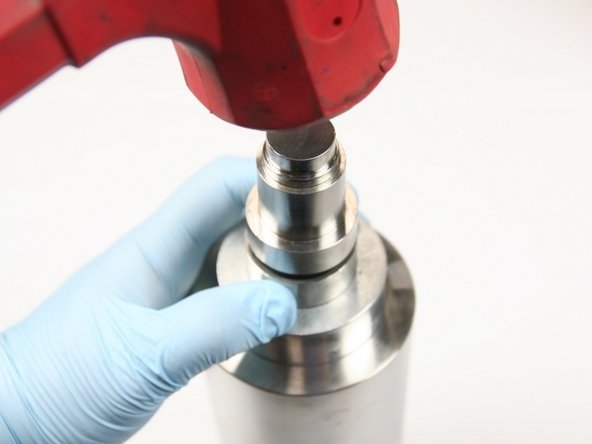
Seat hoop in HP cylinder using non-stepped end of push tool and dead blow hammer
-
Hold down sleeve while seating hoop to ensure hoop doesn't catch on edge of HP cylinder
-
Remove locator tool, sleeve, and push tool
-
-
-
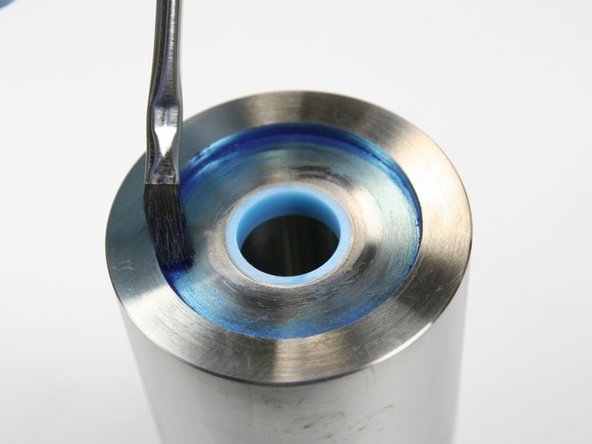
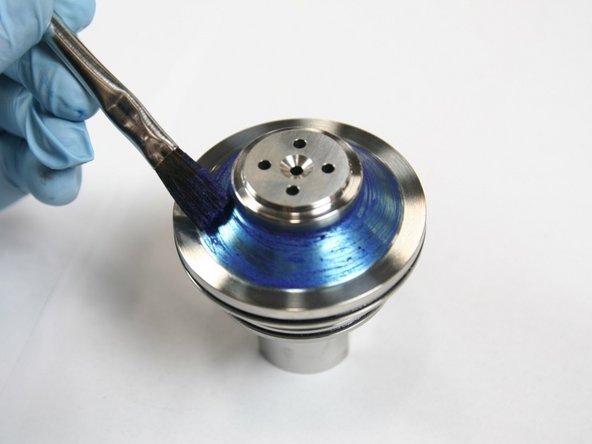
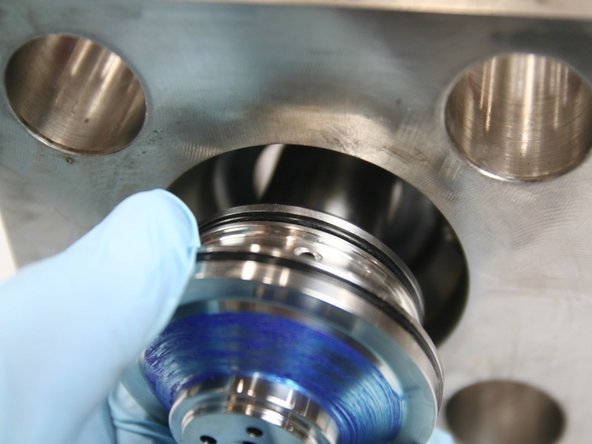
Apply a light coat of blue goop to outer face of inset on end of HP cylinder
-
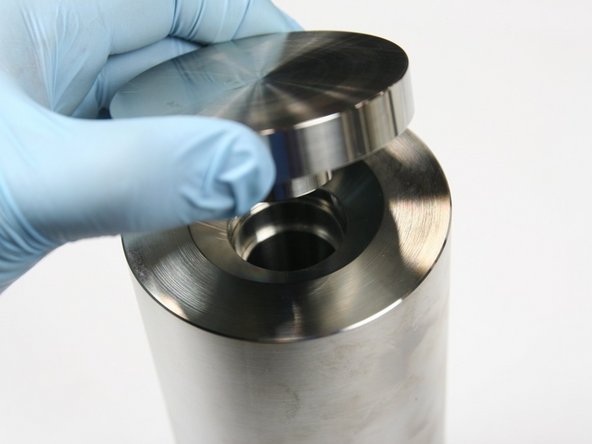
Flip cylinder over and remove seal installation spacer tool
-
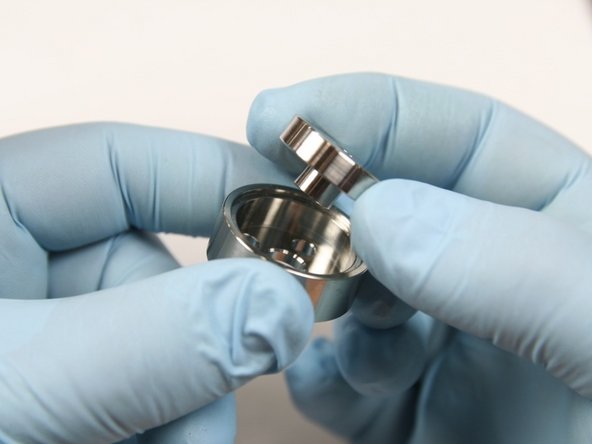
Insert LP poppet in LP poppet basket so stem of poppet goes through center hole in basket
-
Make sure LP poppet can freely move in LP poppet basket
-
-
-
Insert LP poppet and LP poppet basket into spacer tube in HP cylinder
-
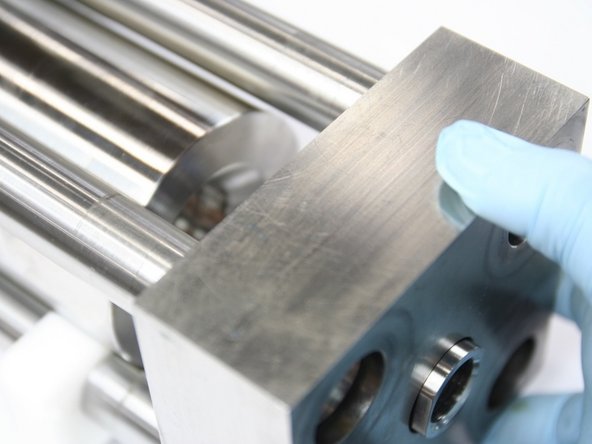
Place seal installation spacer tool on end of HP cylinder with step side down
-
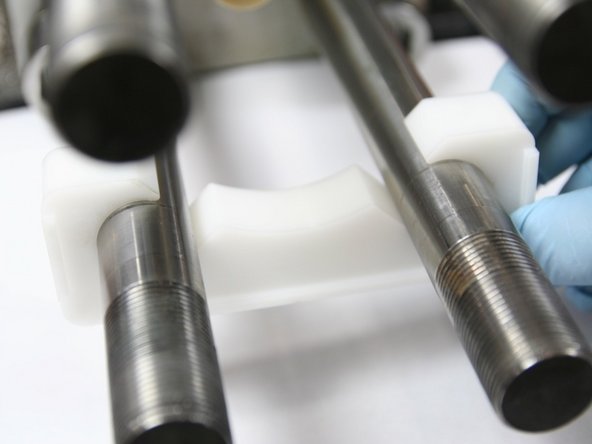
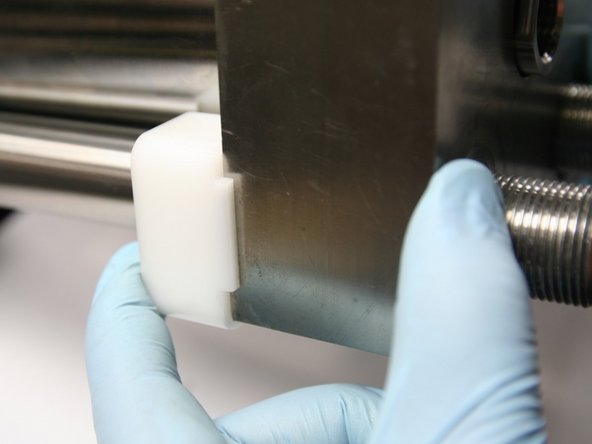
Place mounting cradle on bottom studs of intensifier with tabs toward outside of intensifier
-
-
-
Push HP cylinder onto plunger using mounting cradle as a guide and seal installation spacer tool as a push tool
-
Remove seal installation spacer tool, taking care to that LP poppet stays in LP poppet basket
-
Apply light coat of o-ring lube to -035 and -031 o-rings for check valve
-
-
-
Place -031 and -035 o-rings into grooves on check valve
-
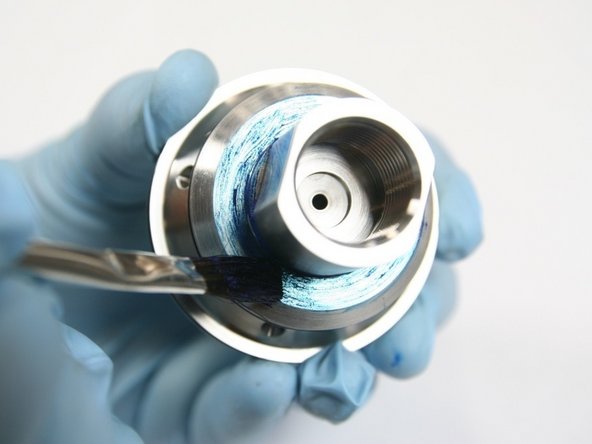
Apply light coat of blue goop to tapered (sealing) face of check valve
-
Apply light coat of blue goop to bottom step of check valve
-
-
-
Insert check valve into HP endcap
-
Slide HP endcap with check valve onto intensifier studs
-
Push HP endcap against HP cylinder and align tabs of mounting cradle so cradle supports HP endcap
-
The mounting cradle is used to ensure proper alignment between HP cylinder an HP endcap during torquing
-
-
-
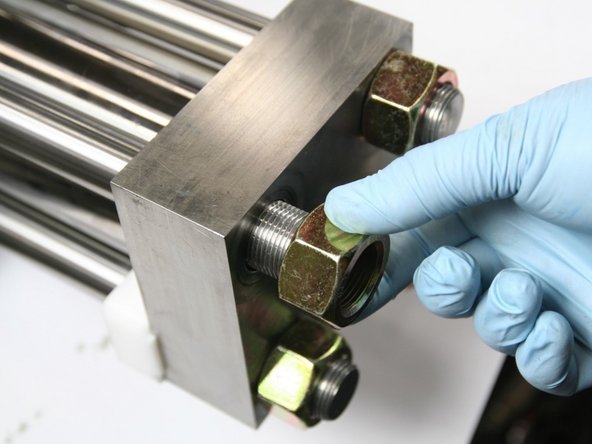
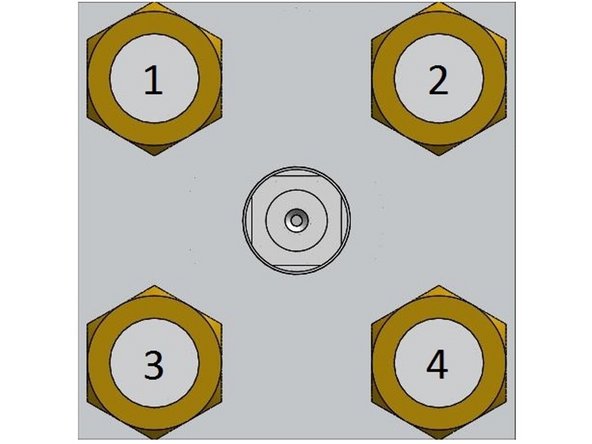
Thread and hand-tighten nuts onto studs using a cross pattern
-
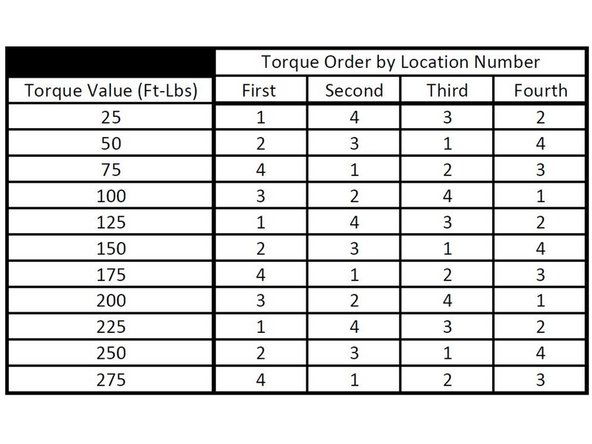
Torque nuts using a cross pattern according to the following directions
-
Use numbers in picture as a guide for location number found in included table for torquing procedure
-
-
-
Torque each nut in torque order found in table to each torque value prior to stepping to next value
-
Continue with HP poppet installation and standard start-up procedures
-


Cancel: I did not complete this guide.
One other person completed this guide.