
Introduction
Hypertherm is in no way affiliated with the above mentioned manufacturer
Tools
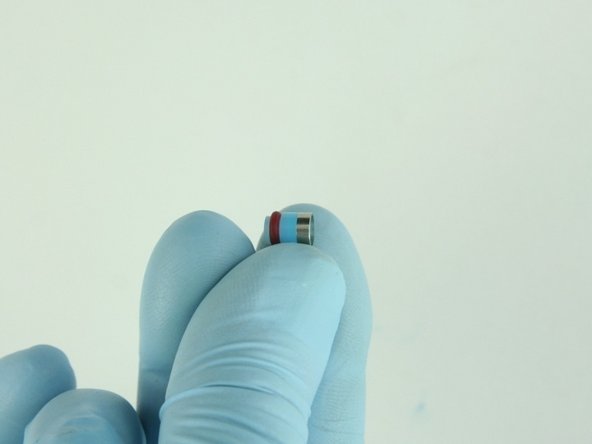
Parts
- Repair kit #12967
- Valve Stem #11102 (included in kit)
- O-ring #11240 (included in kit)
- Seat #11099 (included in kit)
- Stainless Steel Back-up Ring #12733 (Included in Kit)
- Brass Back-up Ring #11104 (included in kit)
- Seal Assembly #11100 (included in kit)
- Actuator #12089
- High-Pressure Gland Fitting #12347
- Valve Body #11320
- Nozzle Tube #11436
- Blue Goop #11111
- Isopropyl Alcohol
-
-
Always make sure all high-pressure water has been removed from the valve by the following machine manufacturers' safety instructions. Failure to do so can cause severe injury or death.
-
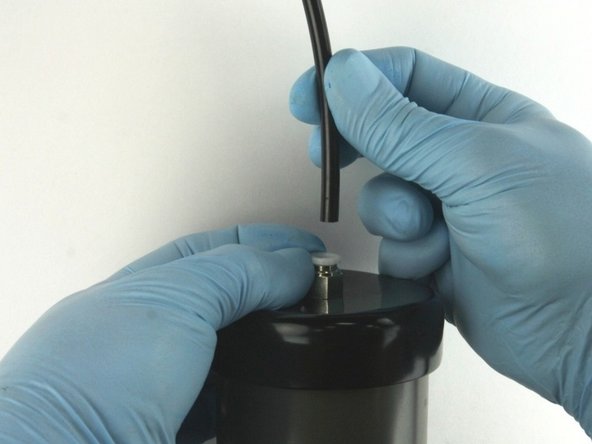
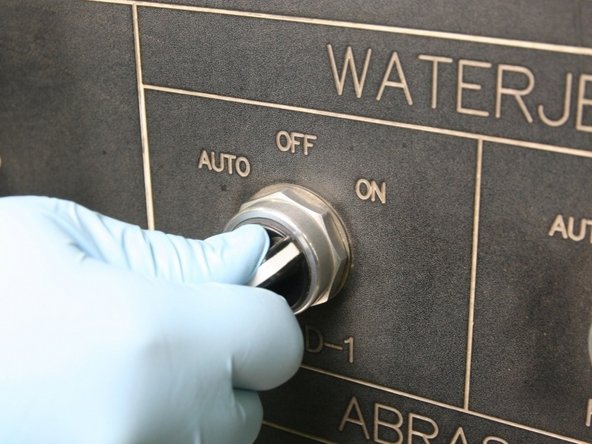
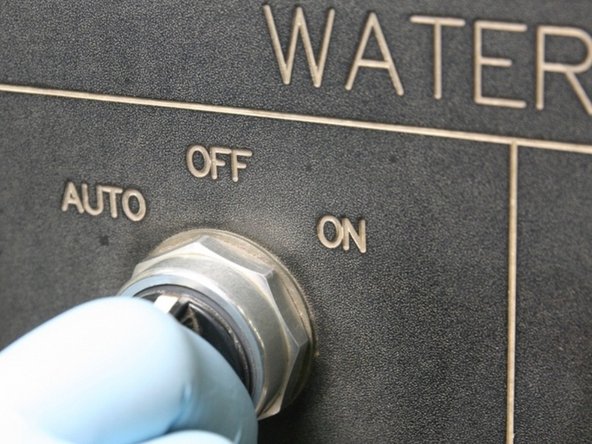
Turn OFF all water pressure to the on/off valve.
-
Turn the on/off valve ON to raise the valve stem from the seat.
-
-
-
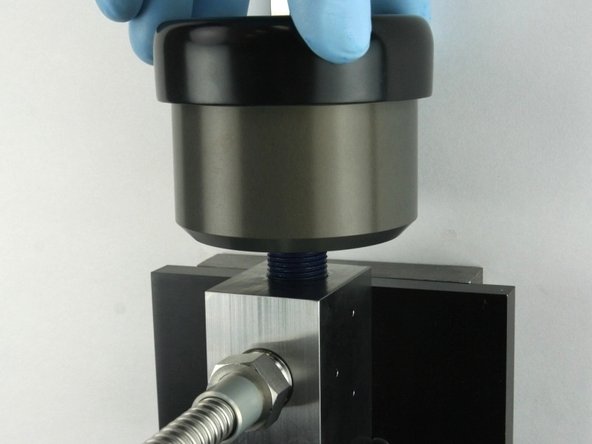
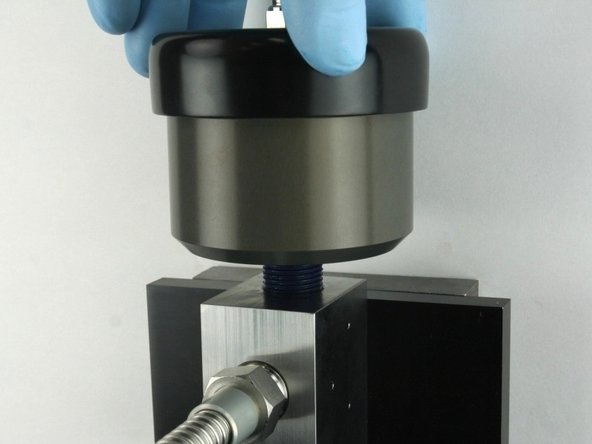
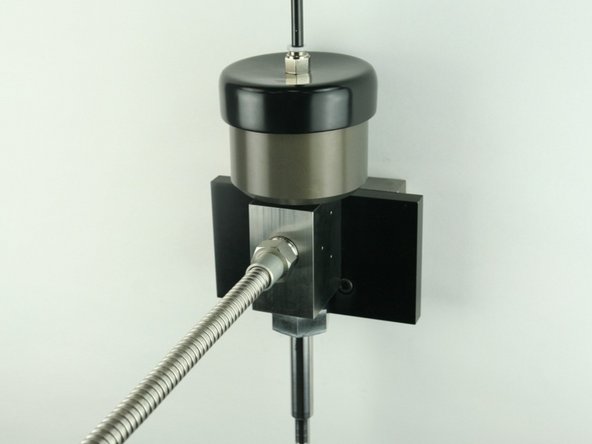
The valve components can be replaced with the valve body mounted to the table.
-
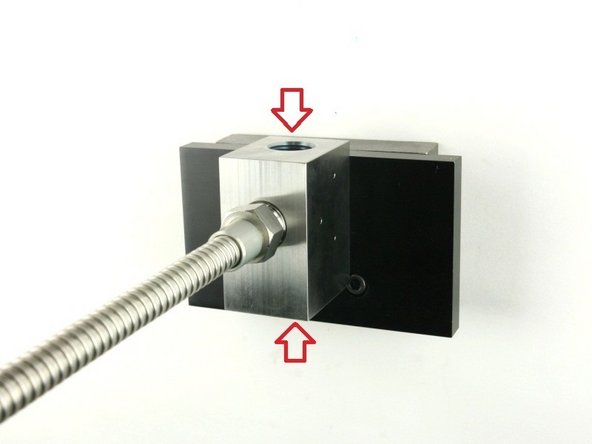
Loosen the high-pressure gland fitting using a 1-1/4" wrench.
-
Turn the air to the actuator OFF at the controls.
-
-
-
Disconnect the air line from the actuator.
-
Unthread the actuator from the valve body.
-
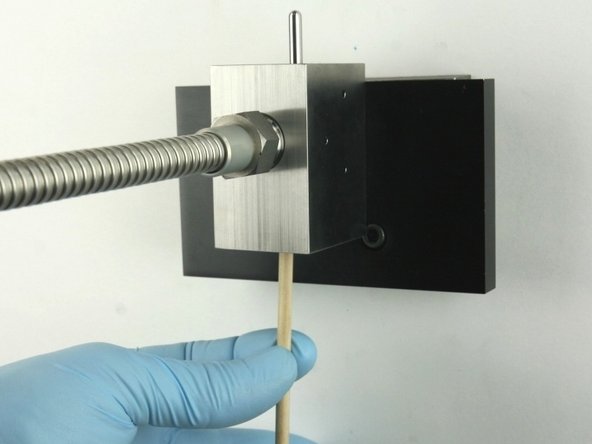
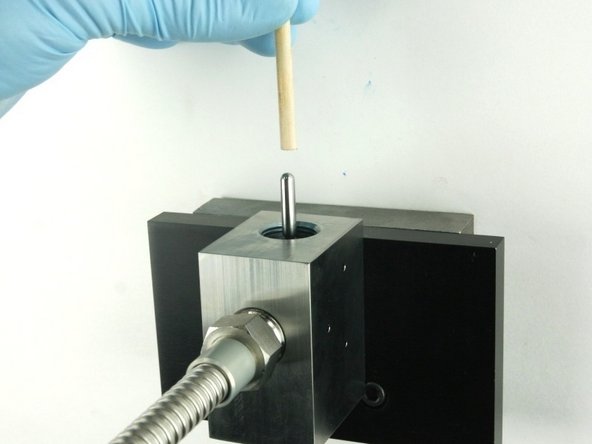
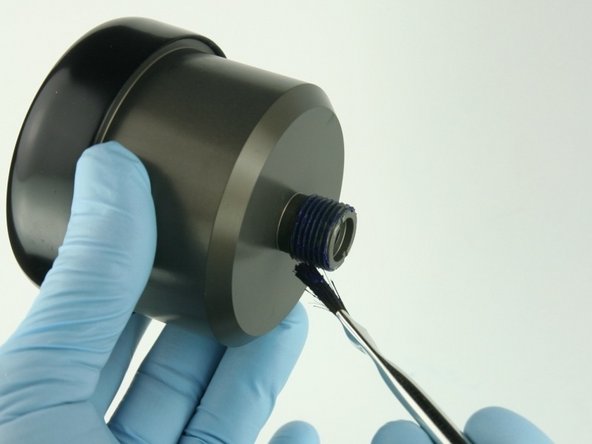
Remove all the valve components from the valve body with the included dowel.
-
-
-
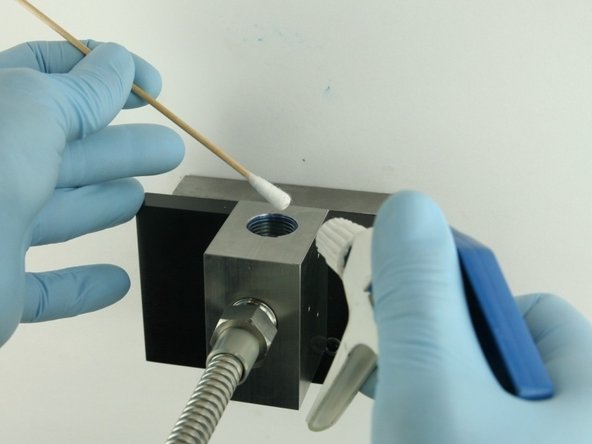
Thoroughly clean the interior of the valve body with isopropyl alcohol or a similar cleaning agent before replacing the components.
-
Visually inspect the top and bottom of the valve bore for cracks/blemishes. If excessive wear or cracks are visible, replace the valve body.
-
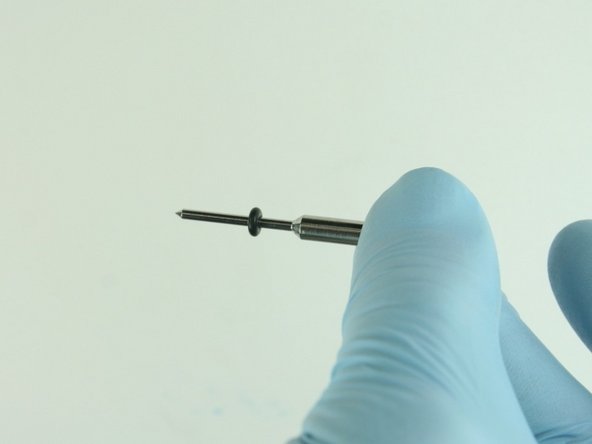
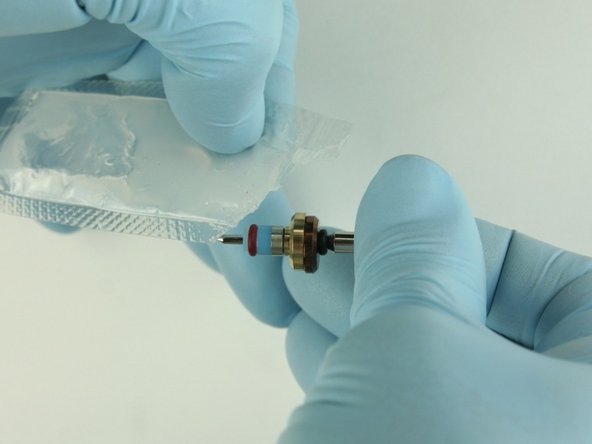
Slide the O-ring on to the point of the valve stem.
-
-
-
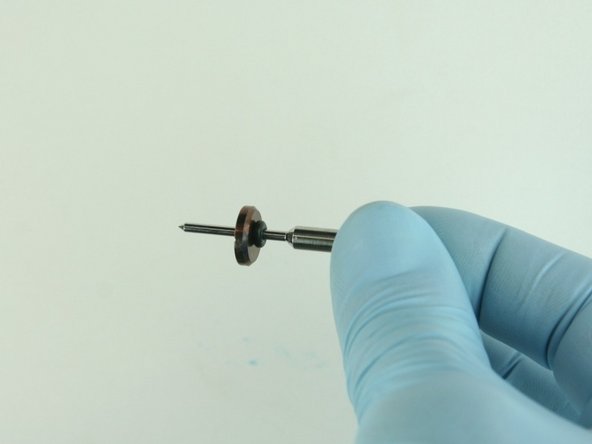
Slide the stainleass steel back-up ring on to the valve stem point with the chamfer side towards the O-ring.
-
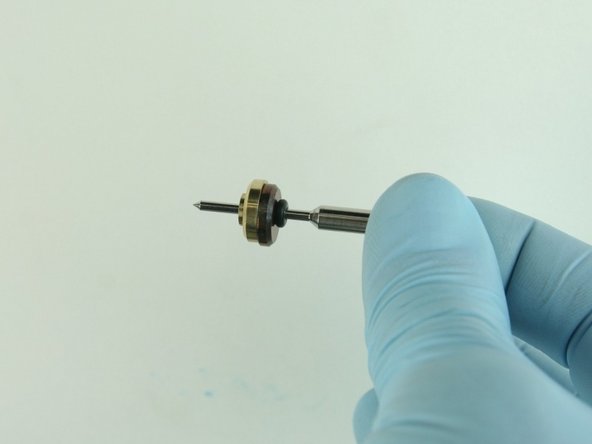
Slide the brass back-up ring on to the valve stem point with the chamfer side away from the stainless steel back-up ring.
-
Put the hoop on the high-pressure seal with the sharp edge of the hoop towards the seal.
-
-
-
Slide the hoop and the high-pressure valve seal onto the valve stem with the hoop towards the brass back-up ring.
-
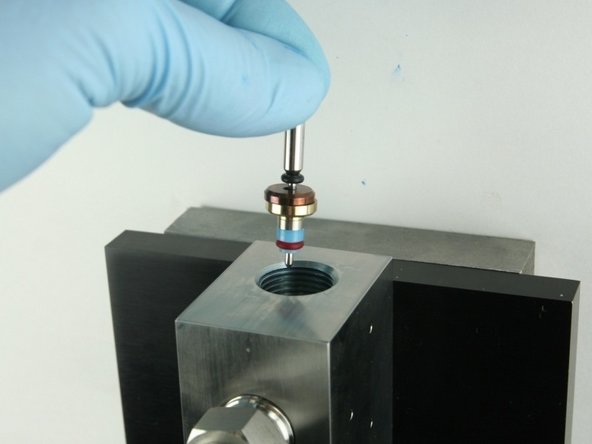
Apply high-pressure lubricant to the outside diameter of the high-pressure valve seal.
-
Put the point of the valve stem into the valve body.
-
-
-
Reconnect the air line to the top of the actuator.
-
Turn the air to the actuator ON.
-
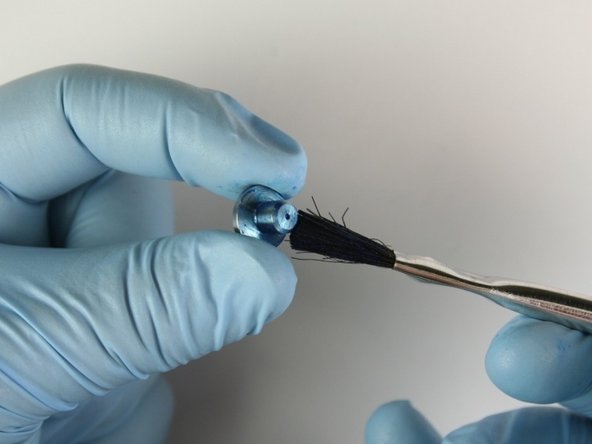
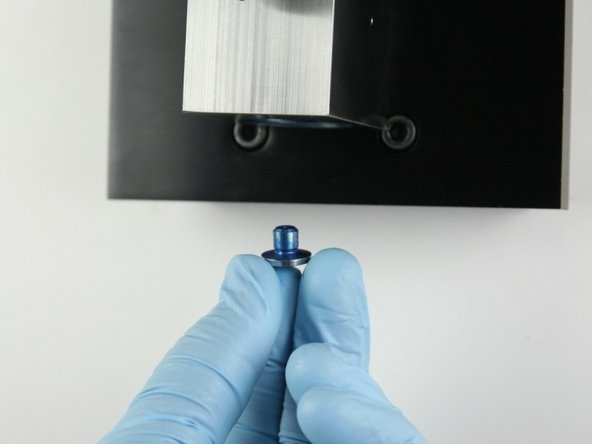
Apply Blue Goop to all surfaces of the seat.
-
-
-
Put the seat into the bottom of the valve body.
-
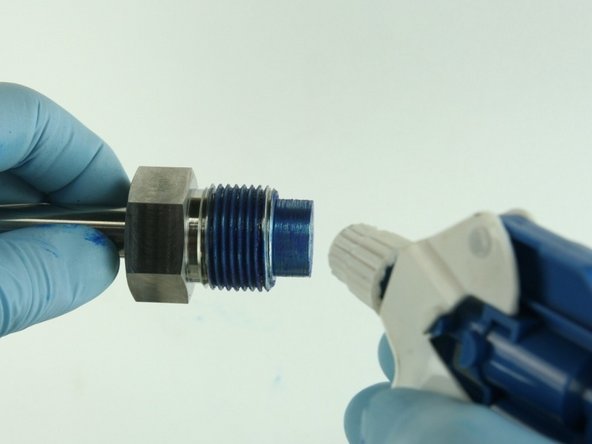
Clean the valve nut threads and the top of the nozzle tube of all Blue Goop.
-
Reapply Blue Goop to the threads of the high-pressure gland fitting and to the top of the nozzle tube.
-
-
-
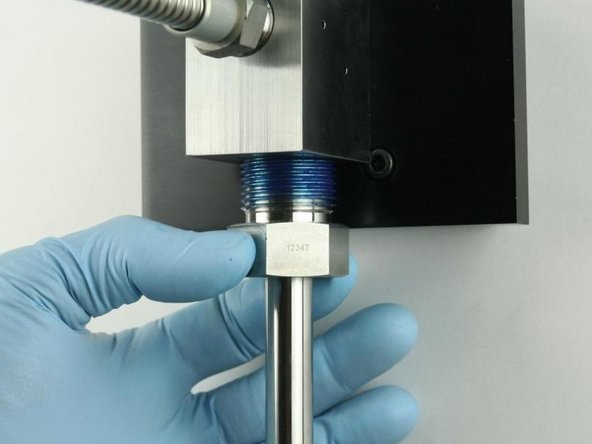
Thread the high-pressure gland fitting into the bottom of the valve body.
-
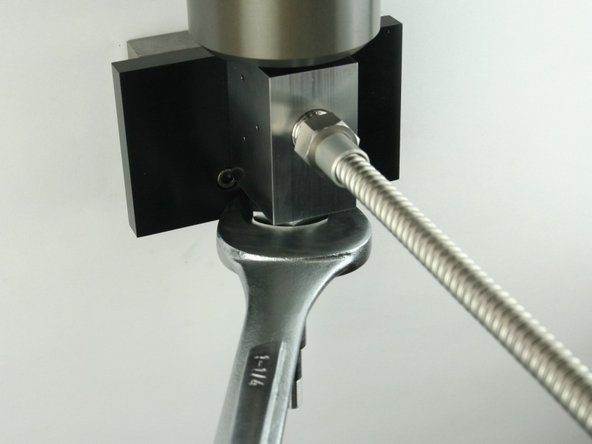
Tighten the high-pressure gland fitting using a 1-1/4" wrench.
-
Turn the air to the actuator OFF at the controls.
-
-
-
Apply water pressure to the valve assembly to verify there are no leaks.
-
Quickly cycle the valve on and off a few times to purge the system of all contaminants before installing the cutting head.
-
Re-install the cutting head and continue the cutting process.
-


Cancel: I did not complete this guide.
One other person completed this guide.