
Introduction
Hypertherm is in no way affiliated with the above mentioned manufacturer
-
-
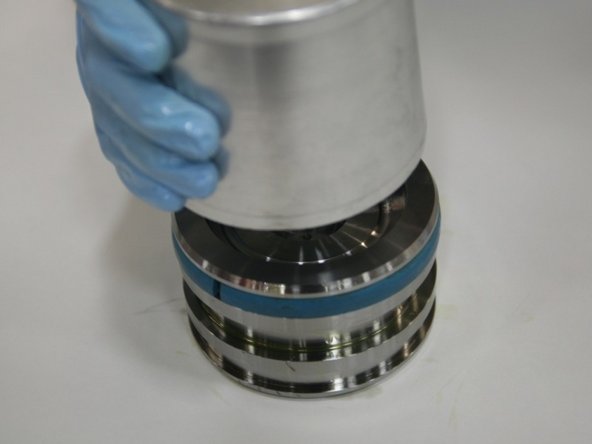
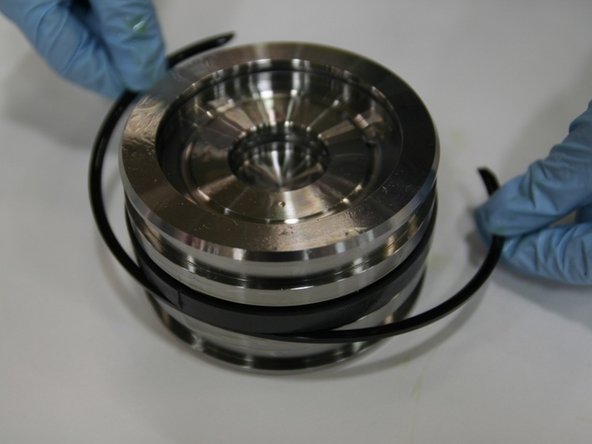
Remove the first wear ring from the piston.
-
Remove the second wear ring from the piston.
-
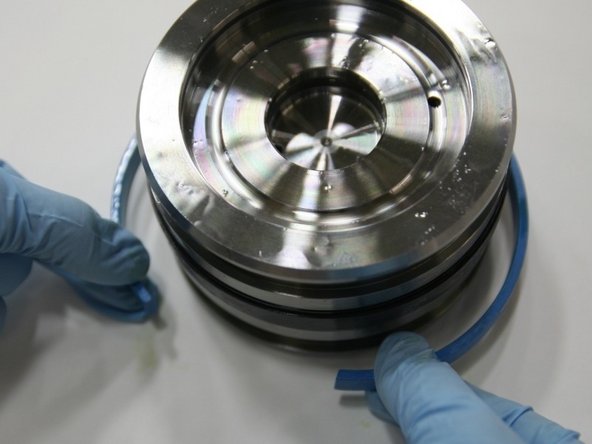
Remove the first split ring from the middle groove of the piston.
-
-
-
Remove the second split ring from the middle groove of the piston.
-
Cut the cap seal from the middle groove of the piston with a pen knife.
-
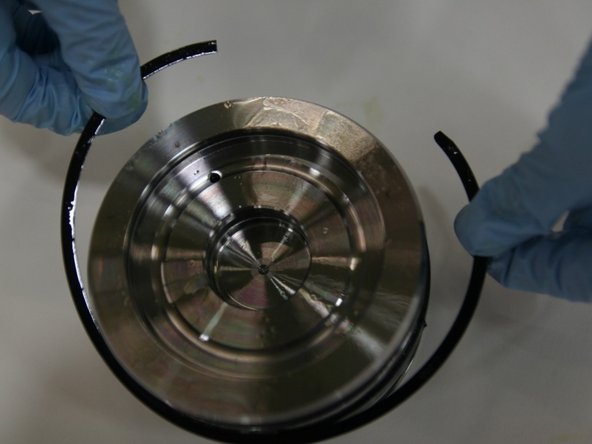
Use a pick to remove the T-seal from the middle groove of the piston.
-
-
-
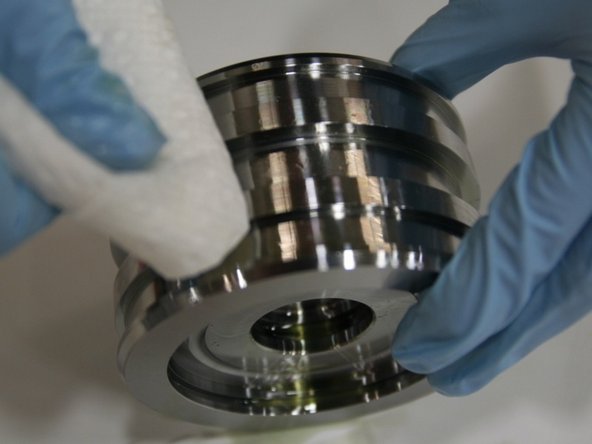
Wipe down the piston with the towel to remove excess hydraulic fluid.
-
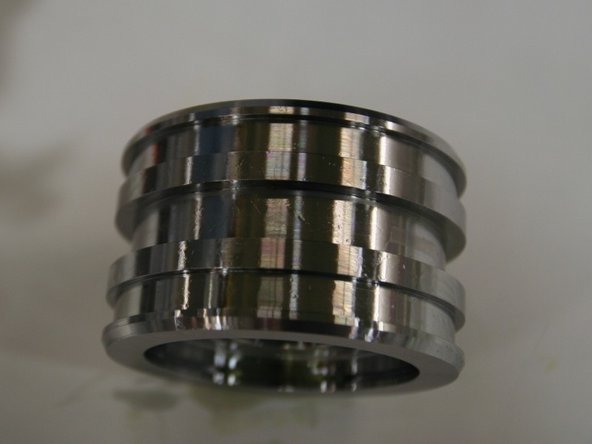
Visually inspect the piston for any scratches or blemishes. If damaged, replace the piston.
-
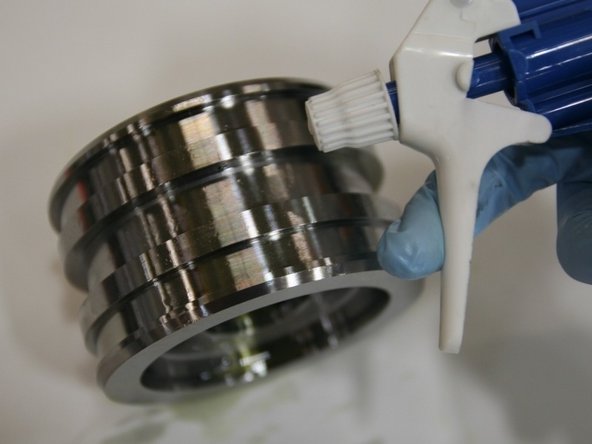
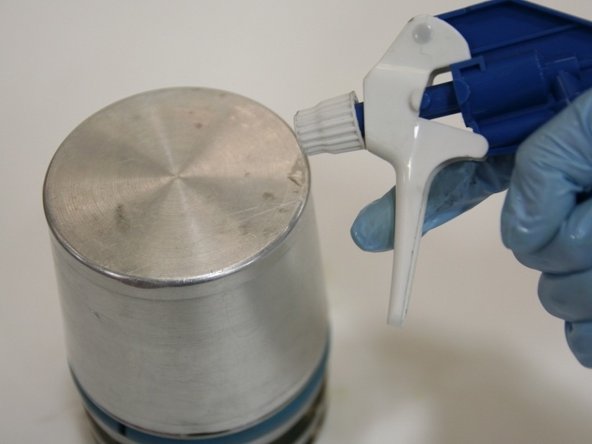
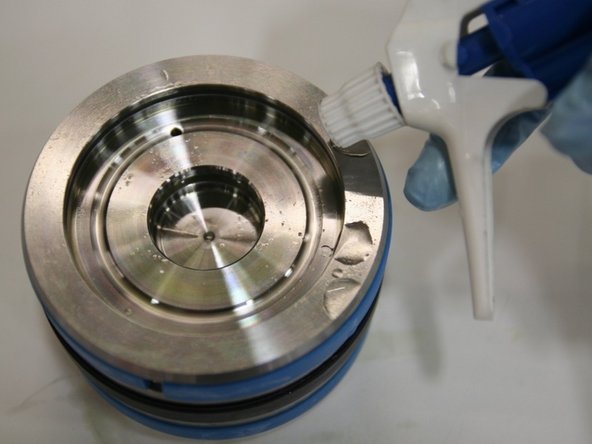
Reapply the hydraulic fluid to the piston with a spray bottle.
-
-
-
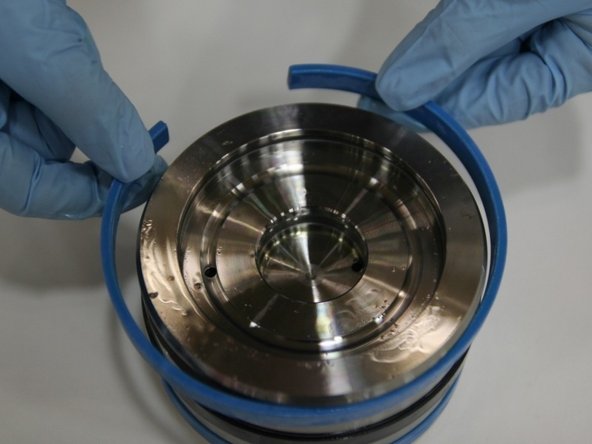
Put the modified wear ring into the top groove of the piston.
-
To create the modified wear ring, shave one edge of a new wear ring (not included in kit) with a belt sander and have the wear ring facing up so there is an easier placement of the cap seal.
-
Put the piston assembly tool onto the piston to fit in the groove.
-
Apply hydraulic fluid to the piston assembly tool.
-
-
-
Slide the T-seal around the piston assembly tool, past the modified wear ring, and into the middle groove of the piston.
-
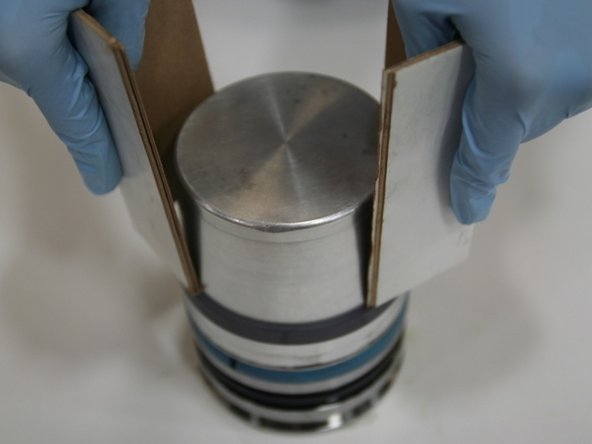
Slide the cap seal onto the piston assembly tool and push the cap seal down (using rigid cardboard) past the modified wear ring and over the T-seal to place in the middle groove.
-
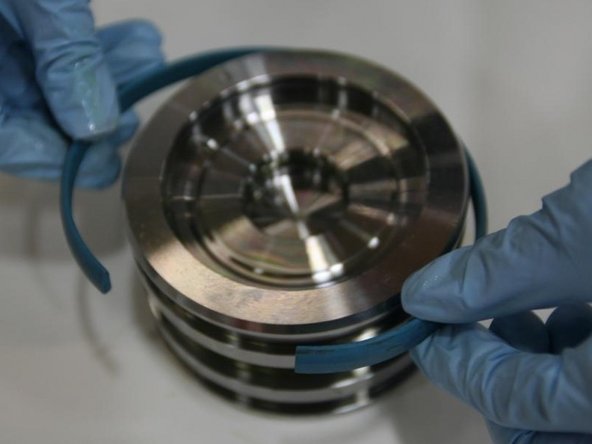
Put the first split ring onto the middle groove with the rounded side facing inward towards the T-seal.
-
-
-
Put the second split ring onto the middle groove with the rounded side facing inward towards the T-seal.
-
The break in the split ring should be on the opposite side of the first split ring.
-
Put the first wear ring onto the bottom groove of the piston.
-
Put the second wear ring onto the top groove of the piston.
-
-
-
Apply hydraulic fluid to the entire piston with a spray bottle.
-
Proceed to the assembly of the intensifier.
-


Cancel: I did not complete this guide.
3 other people completed this guide.