Introduction
Hypertherm is in no way affiliated with the above mentioned manufacturer
Parts
- Repair Kit #11282
- Outlet Poppet #11228 (Included in Kit)
- Insert #11230 (Included in Kit)
- Retaining Screw #11233 (Included in Kit)
- Inlet Poppet #11229 (Included in Kit)
- Inlet Poppet Housing #11232 (Included in Kit)
- Poppet Spring #11234 (Included in Kit)
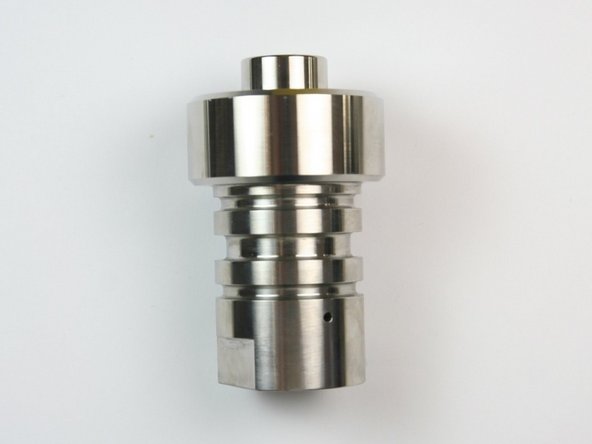
- Outlet Body #11231
- Check Valve Body, 55K, Flow #11115
- High-pressure Cylinders, 60K #11117
- Blue Goop #11111
- Isopropyl Alcohol
- Blue Loctite 242
-
-
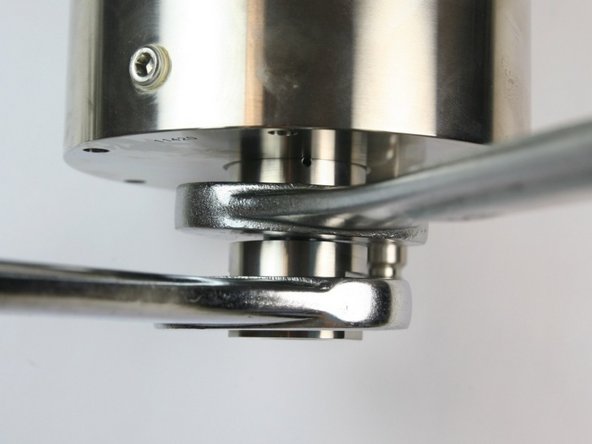
Loosen the outlet body from the check valve body using two 1-1/4" wrenches.
-
Unthread the outlet body from the check valve body.
-
Remove the outlet poppet and the poppet spring from the outlet body.
-
-
-
Loosen the end cap from the high-pressure cylinder with a spanner wrench.
-
Unthread the end cap from the intensifier.
-
Remove the check valve body from the high-pressure cylinder.
-
-
-
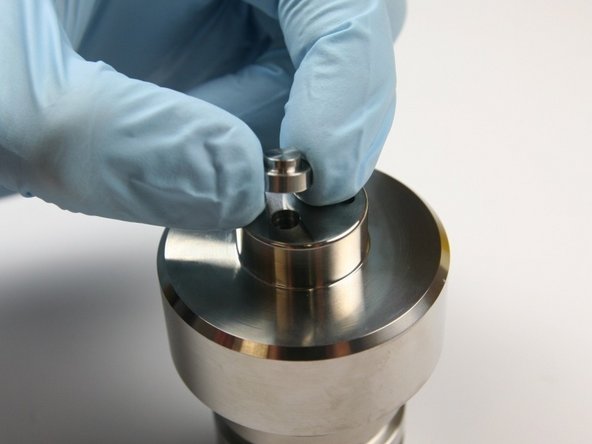
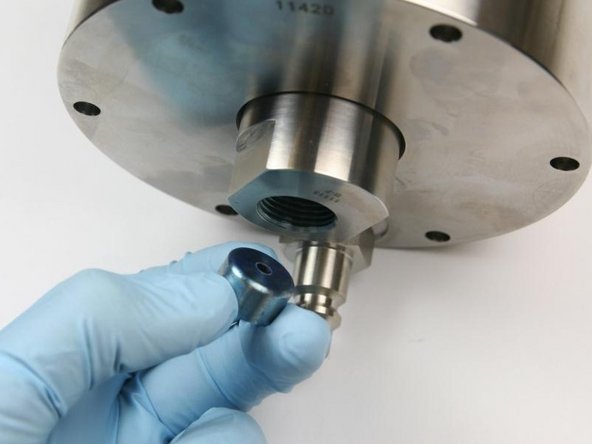
Remove the insert from the check valve body.
-
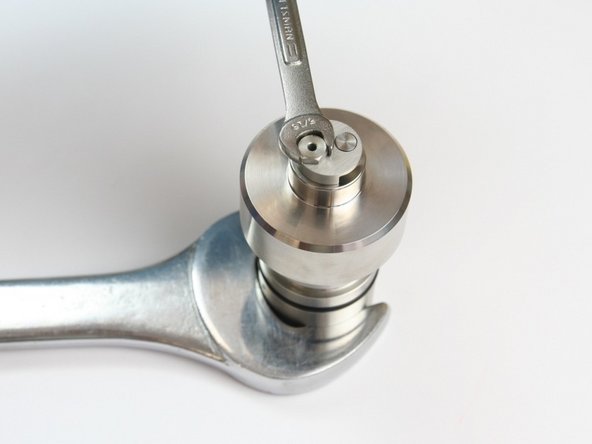
Loosen the retaining screw from check valve body using 5/16" and 1-1/4" wrench.
-
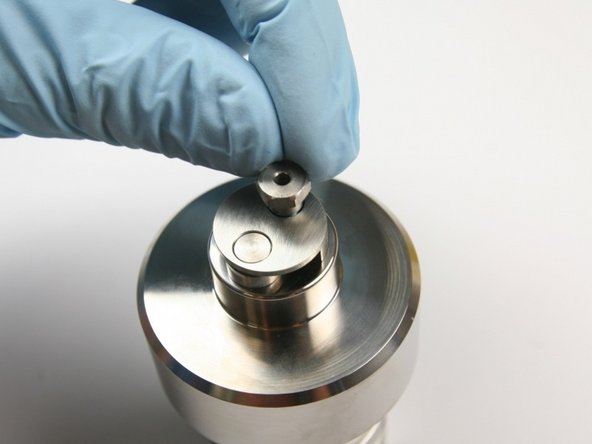
Unthread the retaining screw from the check valve body.
-
-
-
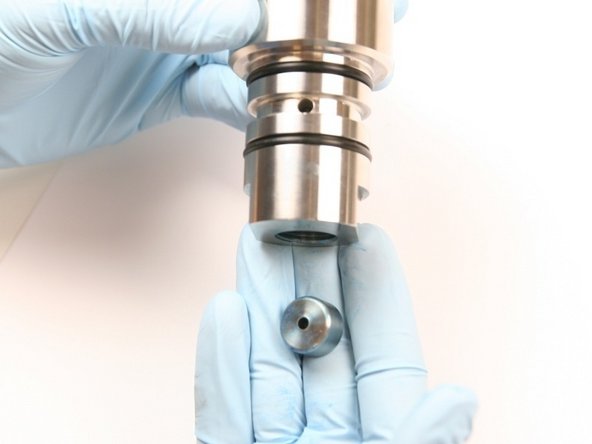
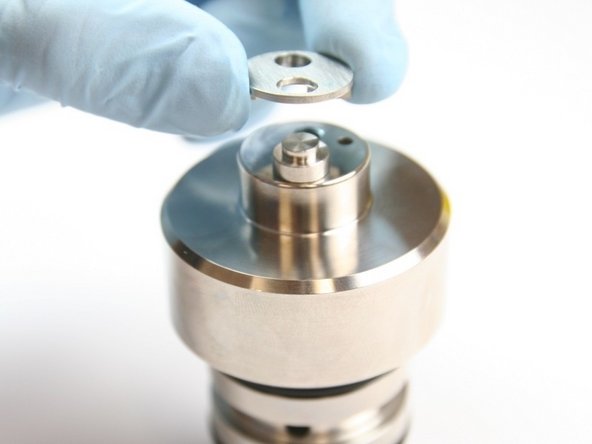
Remove the inlet poppet housing from the top of the check valve body.
-
Remove the inlet poppet from the check valve body.
-
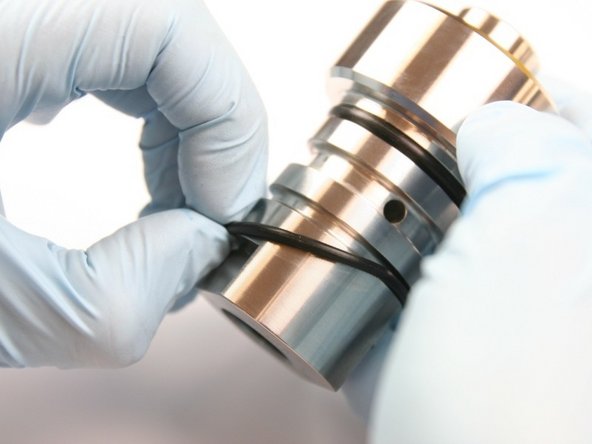
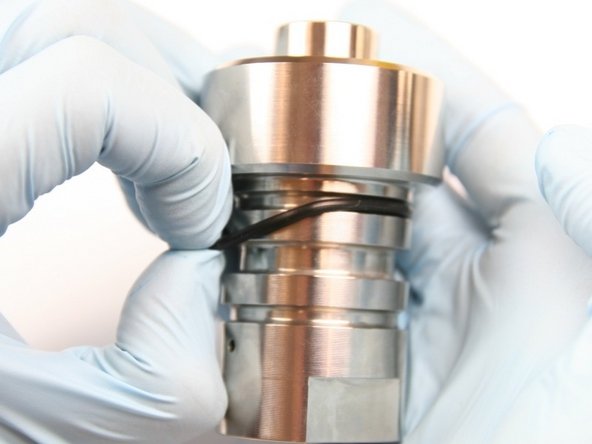
Remove the outer O-ring from the check valve body.
-
-
-
Remove the inner O-ring from the check valve body.
-
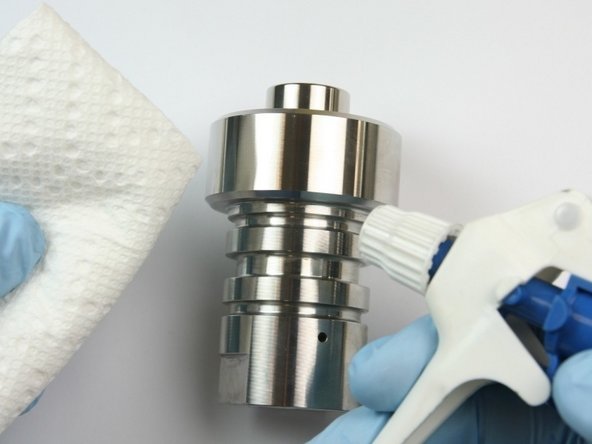
Thoroughly clean the interior/exterior of the check valve body.
-
Make sure there are no scratches/galling and replace if necessary.
-
-
-
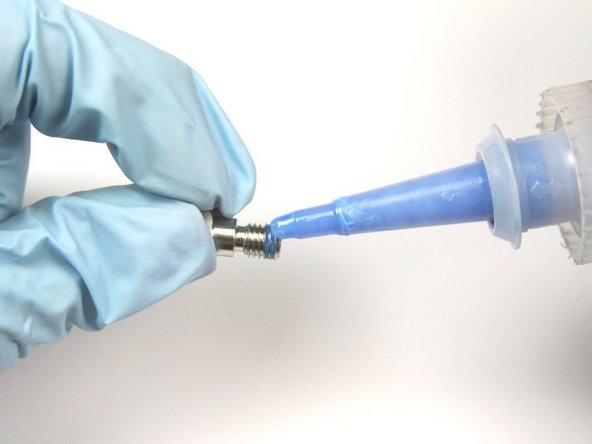
Apply blue loctite 242 to the first two threads of the retaining screw.
-
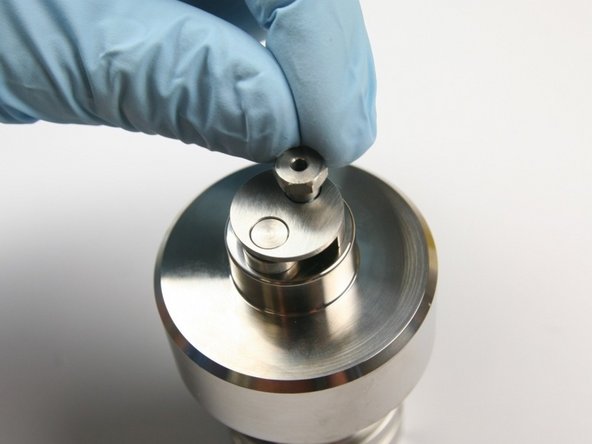
Put the retaining screw through the inlet poppet housing into the top of the check valve body.
-
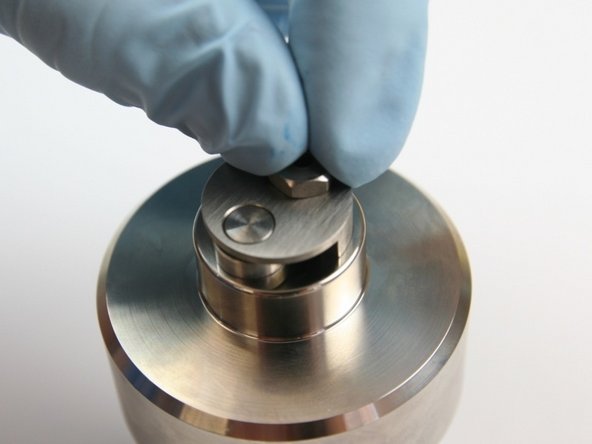
Thread in the retaining screw to the check valve body.
-
-
-
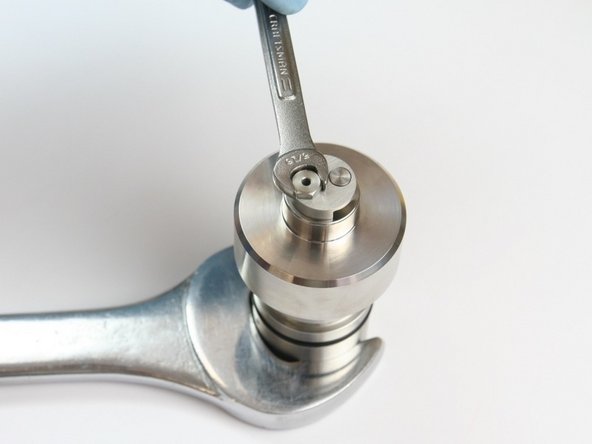
Tighten the retaining screw into the check valve body using a 5/16" and 1-1/4" wrench.
-
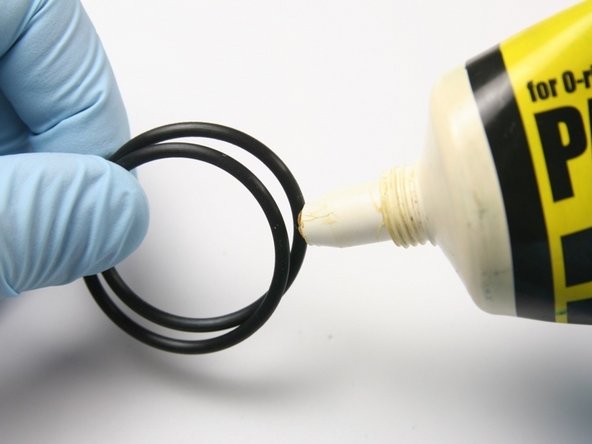
Lubricate both the O-rings from the kit with an O-ring lube.
-
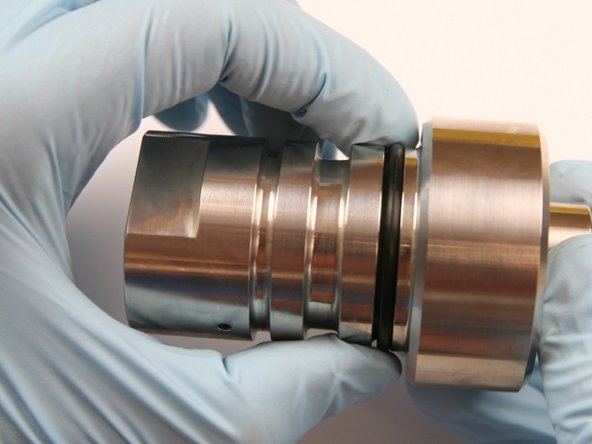
Slide on the first O-ring to the inner groove of the check valve body.
-
-
-
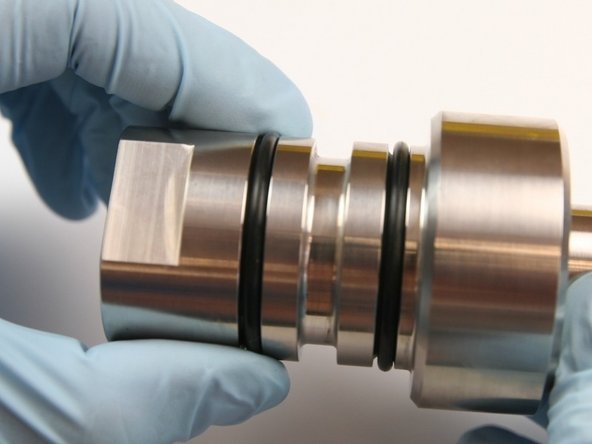
Slide the second O-ring to the outer groove of the check valve body.
-
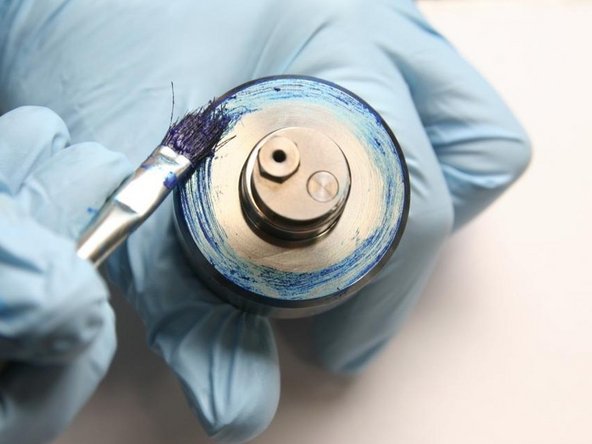
Apply a light coat of Blue Goop around the outer face of the check valve body.
-
Proceed with the installation of the check valve body into the intensifier.
-
-
-
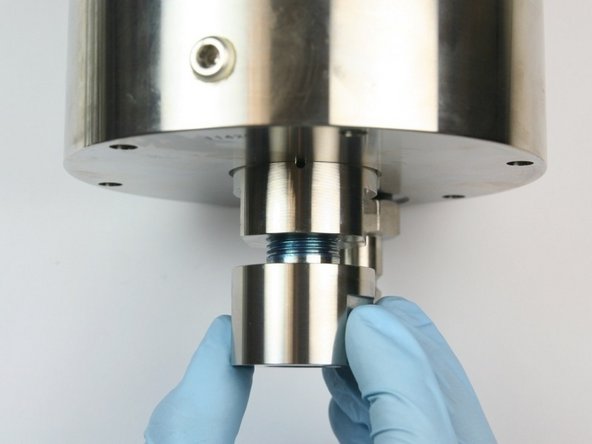
Thread the end cap onto the high-pressure cylinder.
-
Hand tighten the end cap on to the high-pressure cylinder.
-
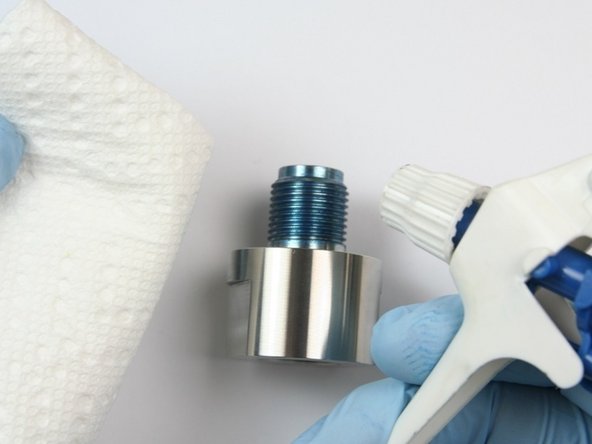
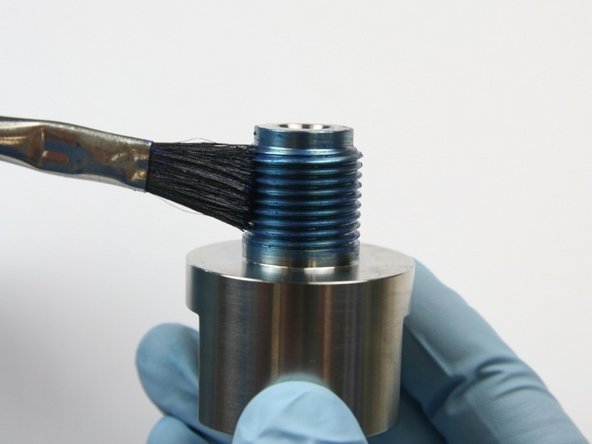
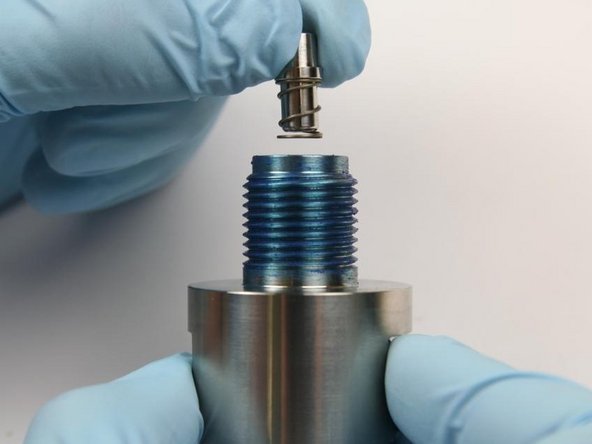
Apply Blue Goop to the outlet body threads.
-
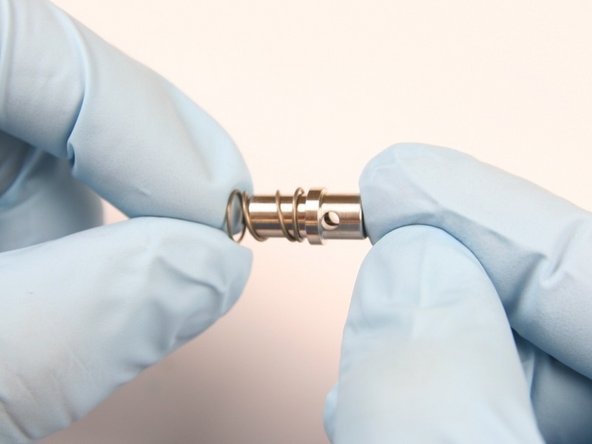
Put the poppet spring onto the larger end of the outlet poppet.
-
-
-
Put the outlet poppet and the poppet spring with the spring first into the outlet body.
-
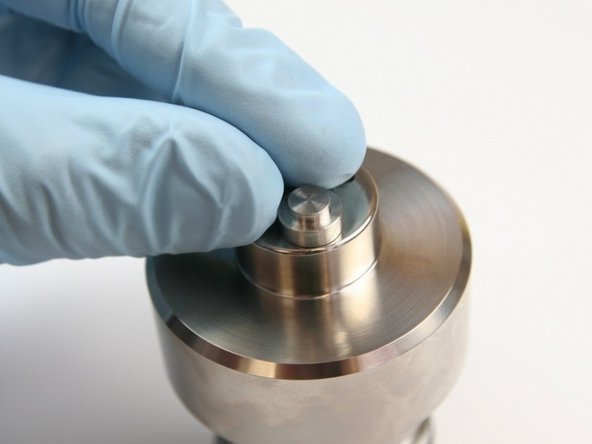
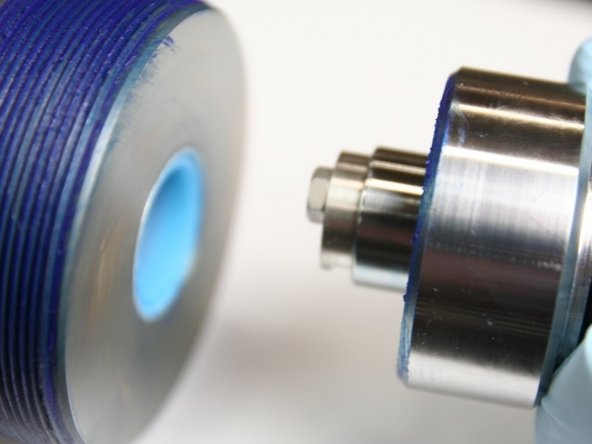
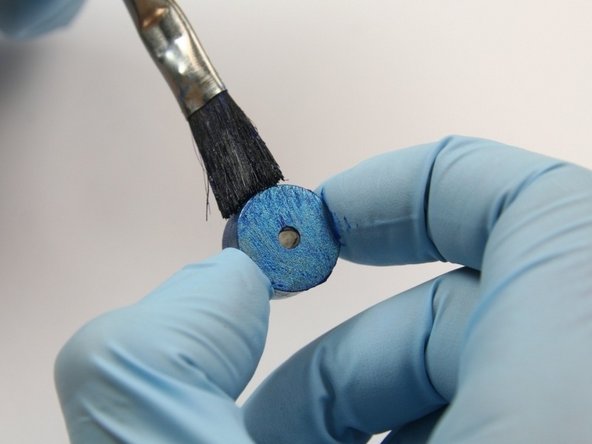
Apply Blue Goop to all surfaces of the insert.
-
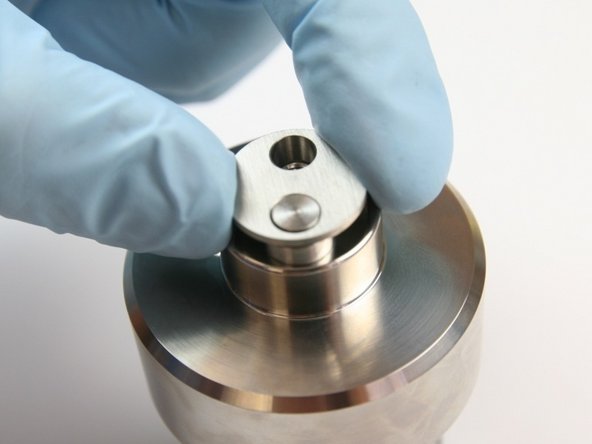
Put the insert, with the rounded side first, into the bottom of the check valve body.
-
-
-
Thread the outlet body into the bottom of the check valve body.
-
Tighten the outlet body into the check valve body using two 1-1/4" wrenches.
-
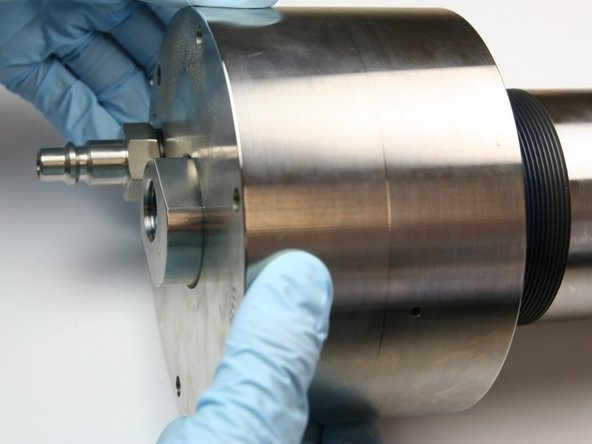
Connect the high and low-pressure water connections and continue the cutting process.
-
Cancel: I did not complete this guide.
5 other people completed this guide.


