Introduction
Hypertherm is in no way affiliated with the above mentioned manufacturer
-
-
Always make sure all high-pressure water has been removed from the valve by the following machine manufacturers' safety instructions. Failure to do so can cause severe injury or death.
-
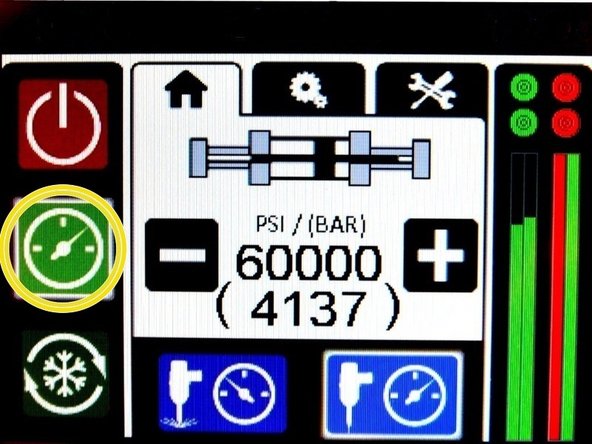
Turn OFF all water pressure to the on/off valve.
-
-
-
The valve components can be replaced with the valve body mounted to the pump.
-
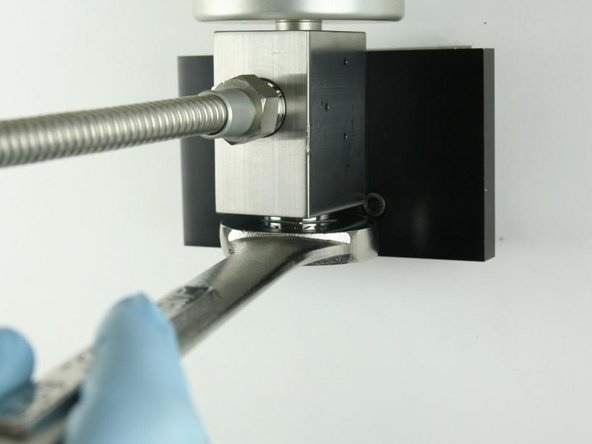
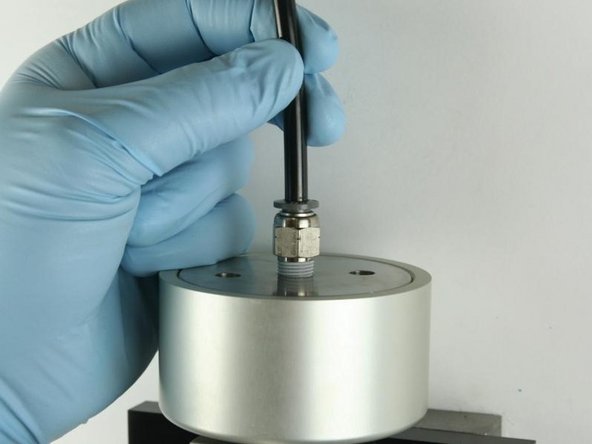
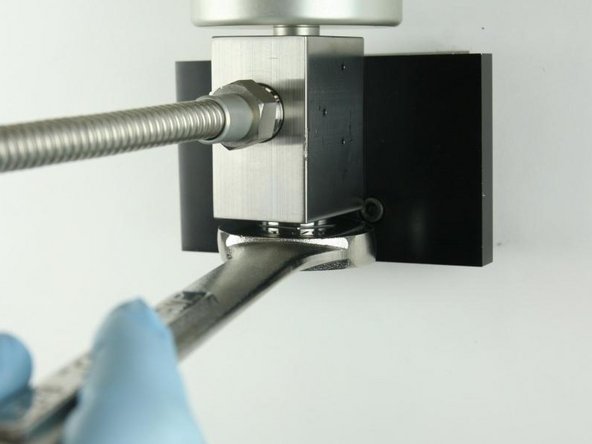
Loosen the high-pressure tubing from the high-pressure gland fitting using a 5/8" and 1" wrench.
-
Unthread the high-pressue tubing from the high-pressure gland fitting.
-
-
-
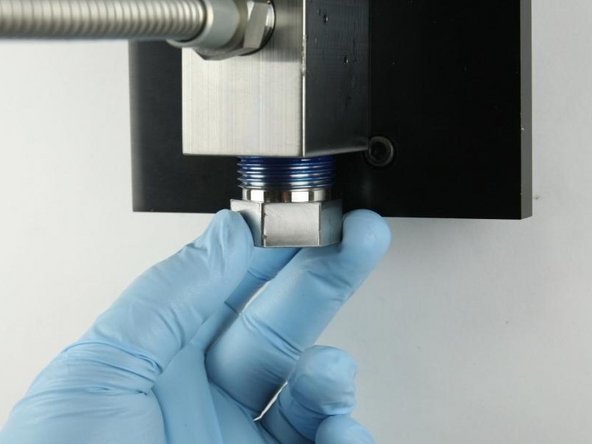
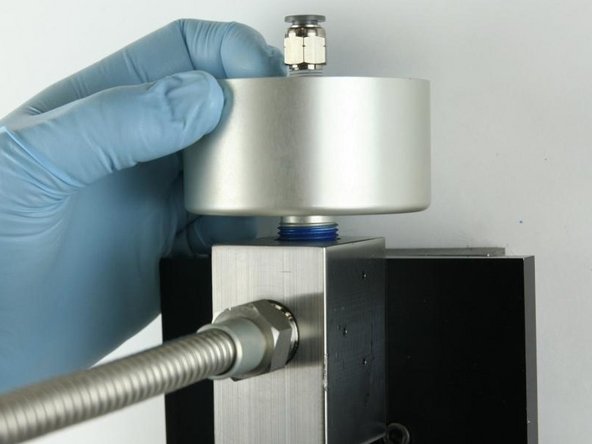
Loosen the high-pressure gland fitting using a 1-1/8" wrench.
-
Unthread the high-pressure gland fitting from the valve body.
-
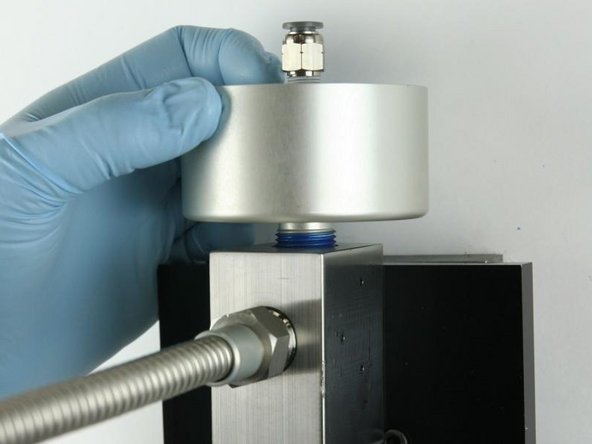
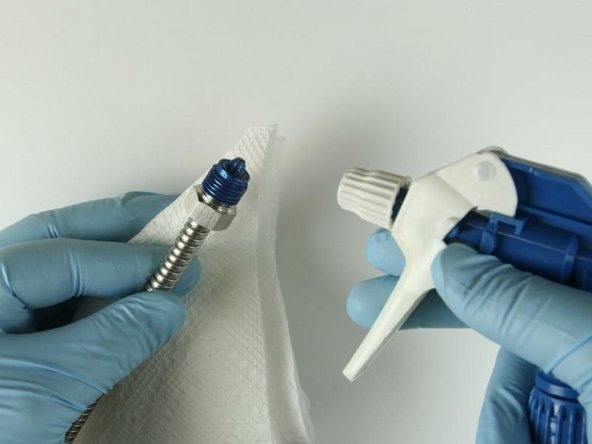
Disconnect the air line from the actuator.
-
-
-
Unthread the actuator from the valve body.
-
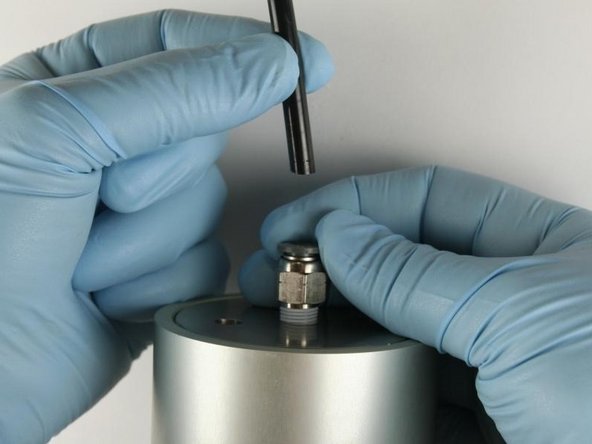
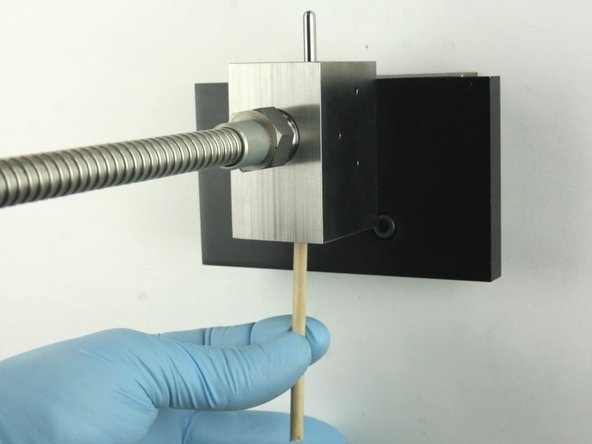
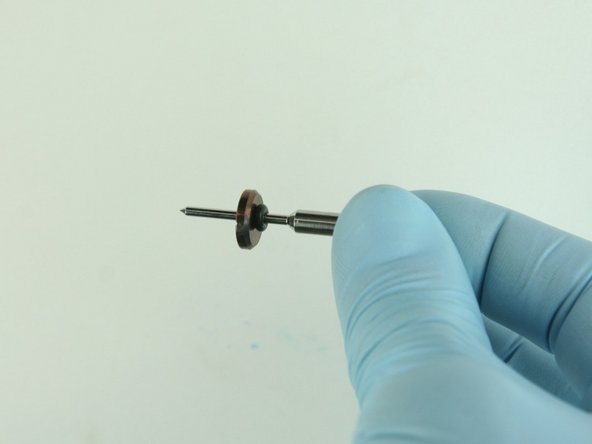
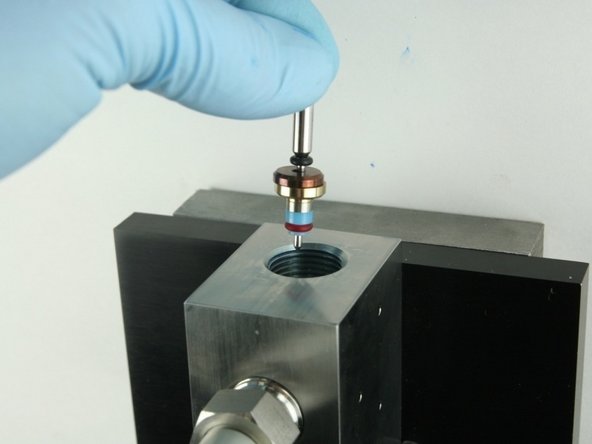
Remove all the valve components from the valve body with the included dowel.
-
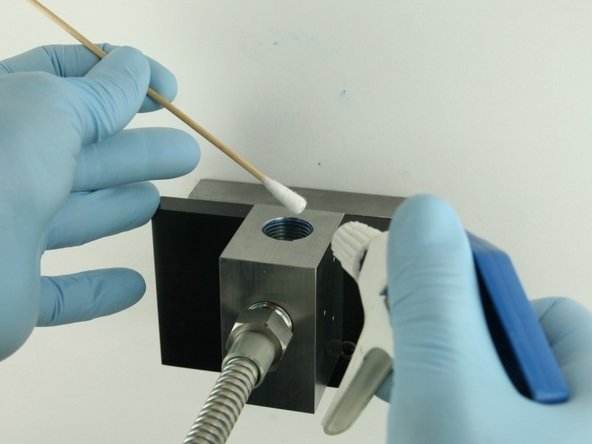
Thoroughly clean theinterior of the valve body with isopropyl alcohol or a similar cleaning agent before replacing the components.
-
-
-
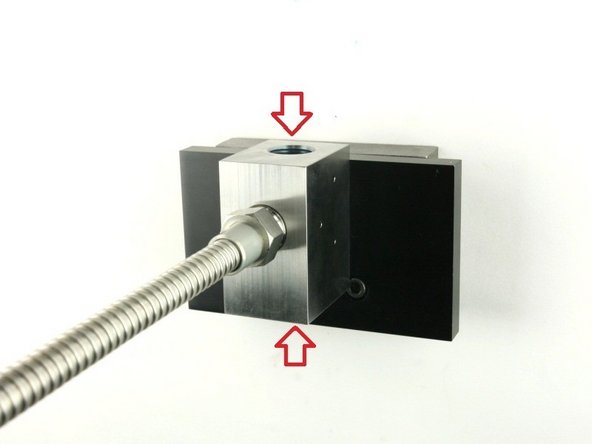
Visually inspect the top and bottom of the valve bore for cracks/blemishes. If excessive wear or cracks are visible, replace the valve body.
-
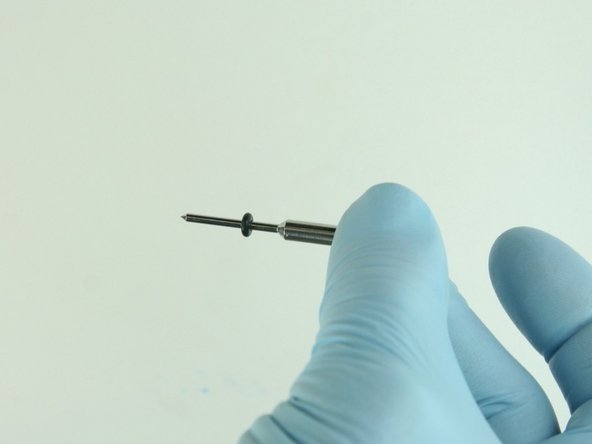
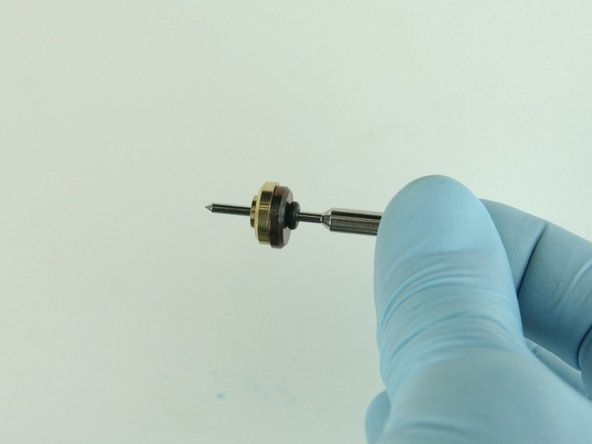
Slide the O-ring on to the point of the valve stem.
-
Slide the stainless steel back-up ring on to the valve stem point with the chamfer side towards the O-ring.
-
-
-
Slide the brass back-up ring on to the valve stem point with the chamfer side away from the stainless steel back-up ring.
-
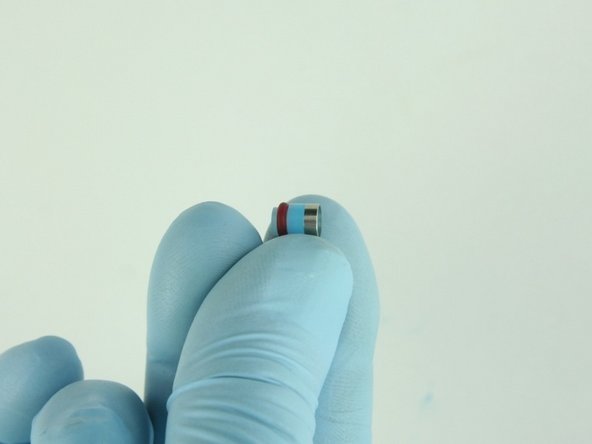
Put the hoop on the high-pressure seal with the sharp edge of the hoop towards the seal.
-
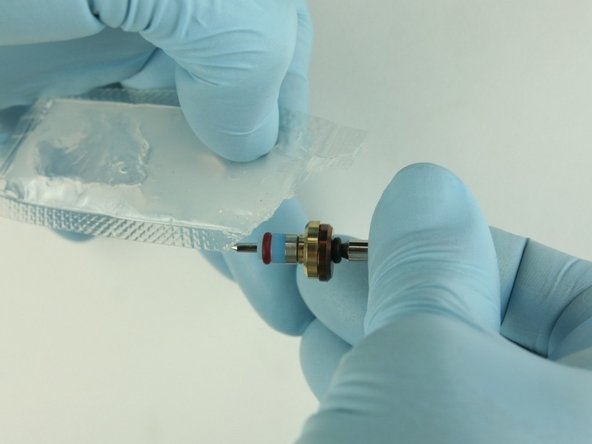
Slide the hoop and the high-pressure valve seal onto the valve stem with the hoop towards the brass back-up ring.
-
-
-
Apply high-pressure lubricant to the outside diameter of the high-pressure valve seal.
-
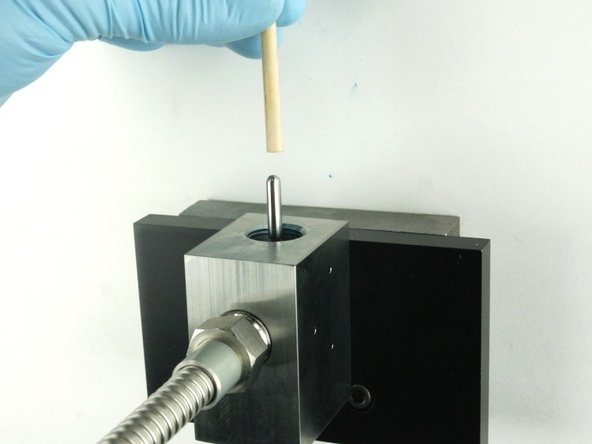
Put the point of the valve stem into the valve body.
-
Push the valve stem with the dowel until it bottoms out.
-
-
-
Reconnect the air tube to the actuator.
-
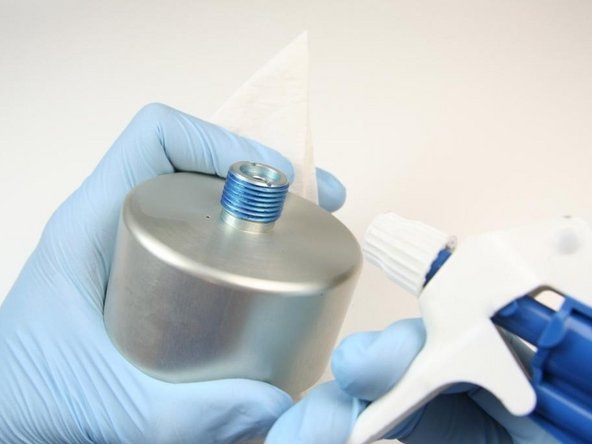
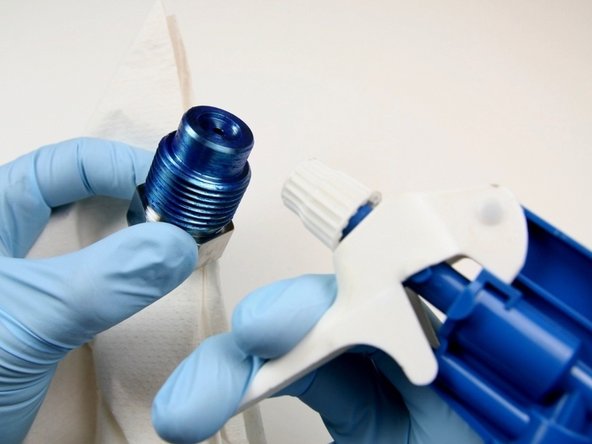
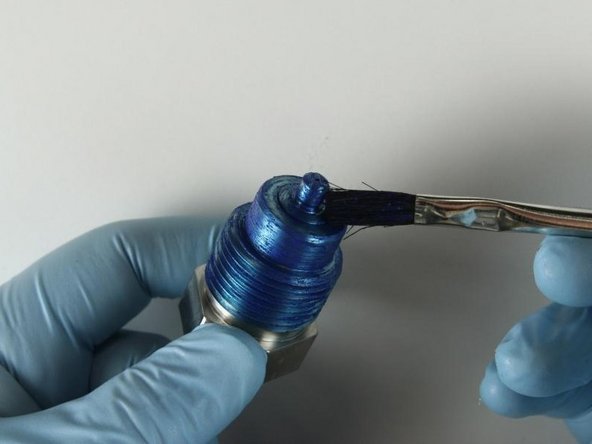
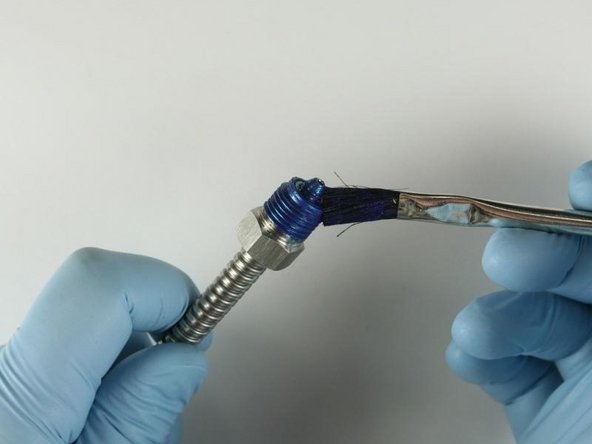
Clean the high-pressure gland fitting of all Blue Goop.
-
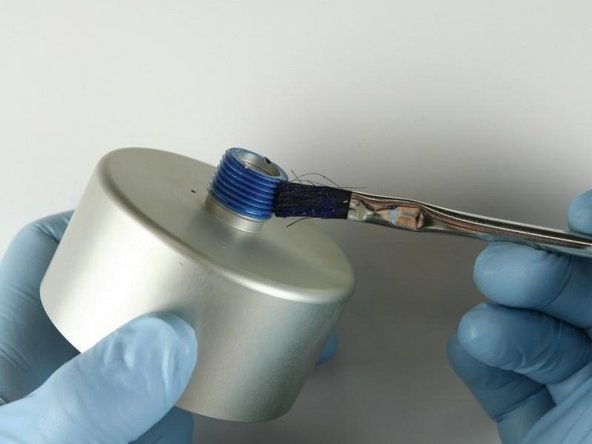
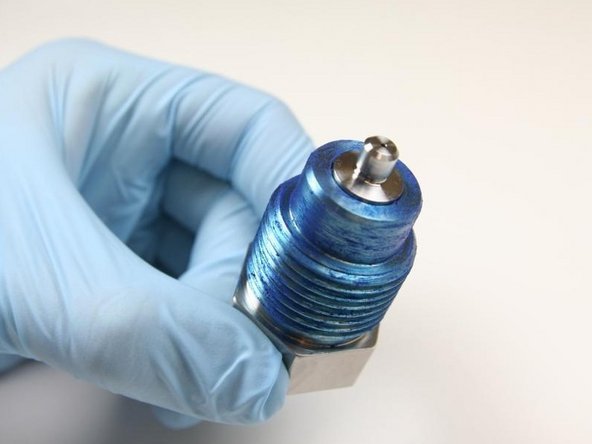
Reapply Blue Goop to the threads of the high-pressure gland fitting.
-
-
-
Put the seat into the top of the high-pressure gland fitting with the flat side towards the gland fitting.
-
Apply Blue Goop to the top of the seat.
-
Thread the high-pressure gland fitting into the bottom of the valve body.
-
-
-
Tighten the high-pressure gland fitting using a 1-1/8" wrench.
-
Clean the high-pressure tubing threads and cone of all Blue Goop with isopropyl alcohol or a similar cleaning agent.
-
Reapply Blue Goop to the high-pressure tubing threads and cone.
-
-
-
Thread in the high-pressure tubing to the bottom of the high-pressure gland fitting.
-
Apply water pressure to the valve assembly to verify there are no leaks.
-
Re-install the cutting head and continue the cutting process.
-
-
-
Re-install the cutting head and continue the cutting process.
-